
Fender Vent Strake Replacement DIY Guide
DISCLAIMER / 免責事項
As always, follow all safety protocols. Don't undertake this task if you aren't comfortable with it, fully understand it, and are capable of completing it. The information provided may be incomplete or inaccurate. You are ultimately responsible for anything you do. Redpants is not responsible or liable for anything that may occur.
常にすべての安全プロトコルに従ってください。この作業に不安があり、十分に理解しておらず、完了する能力がない場合は、作業を行わないでください。提供される情報は不完全または不正確である可能性があります。ご自身の行動に対する最終的な責任は、ご自身にあります。Redpantsは、発生する可能性のあるいかなる事象についても責任を負いません。
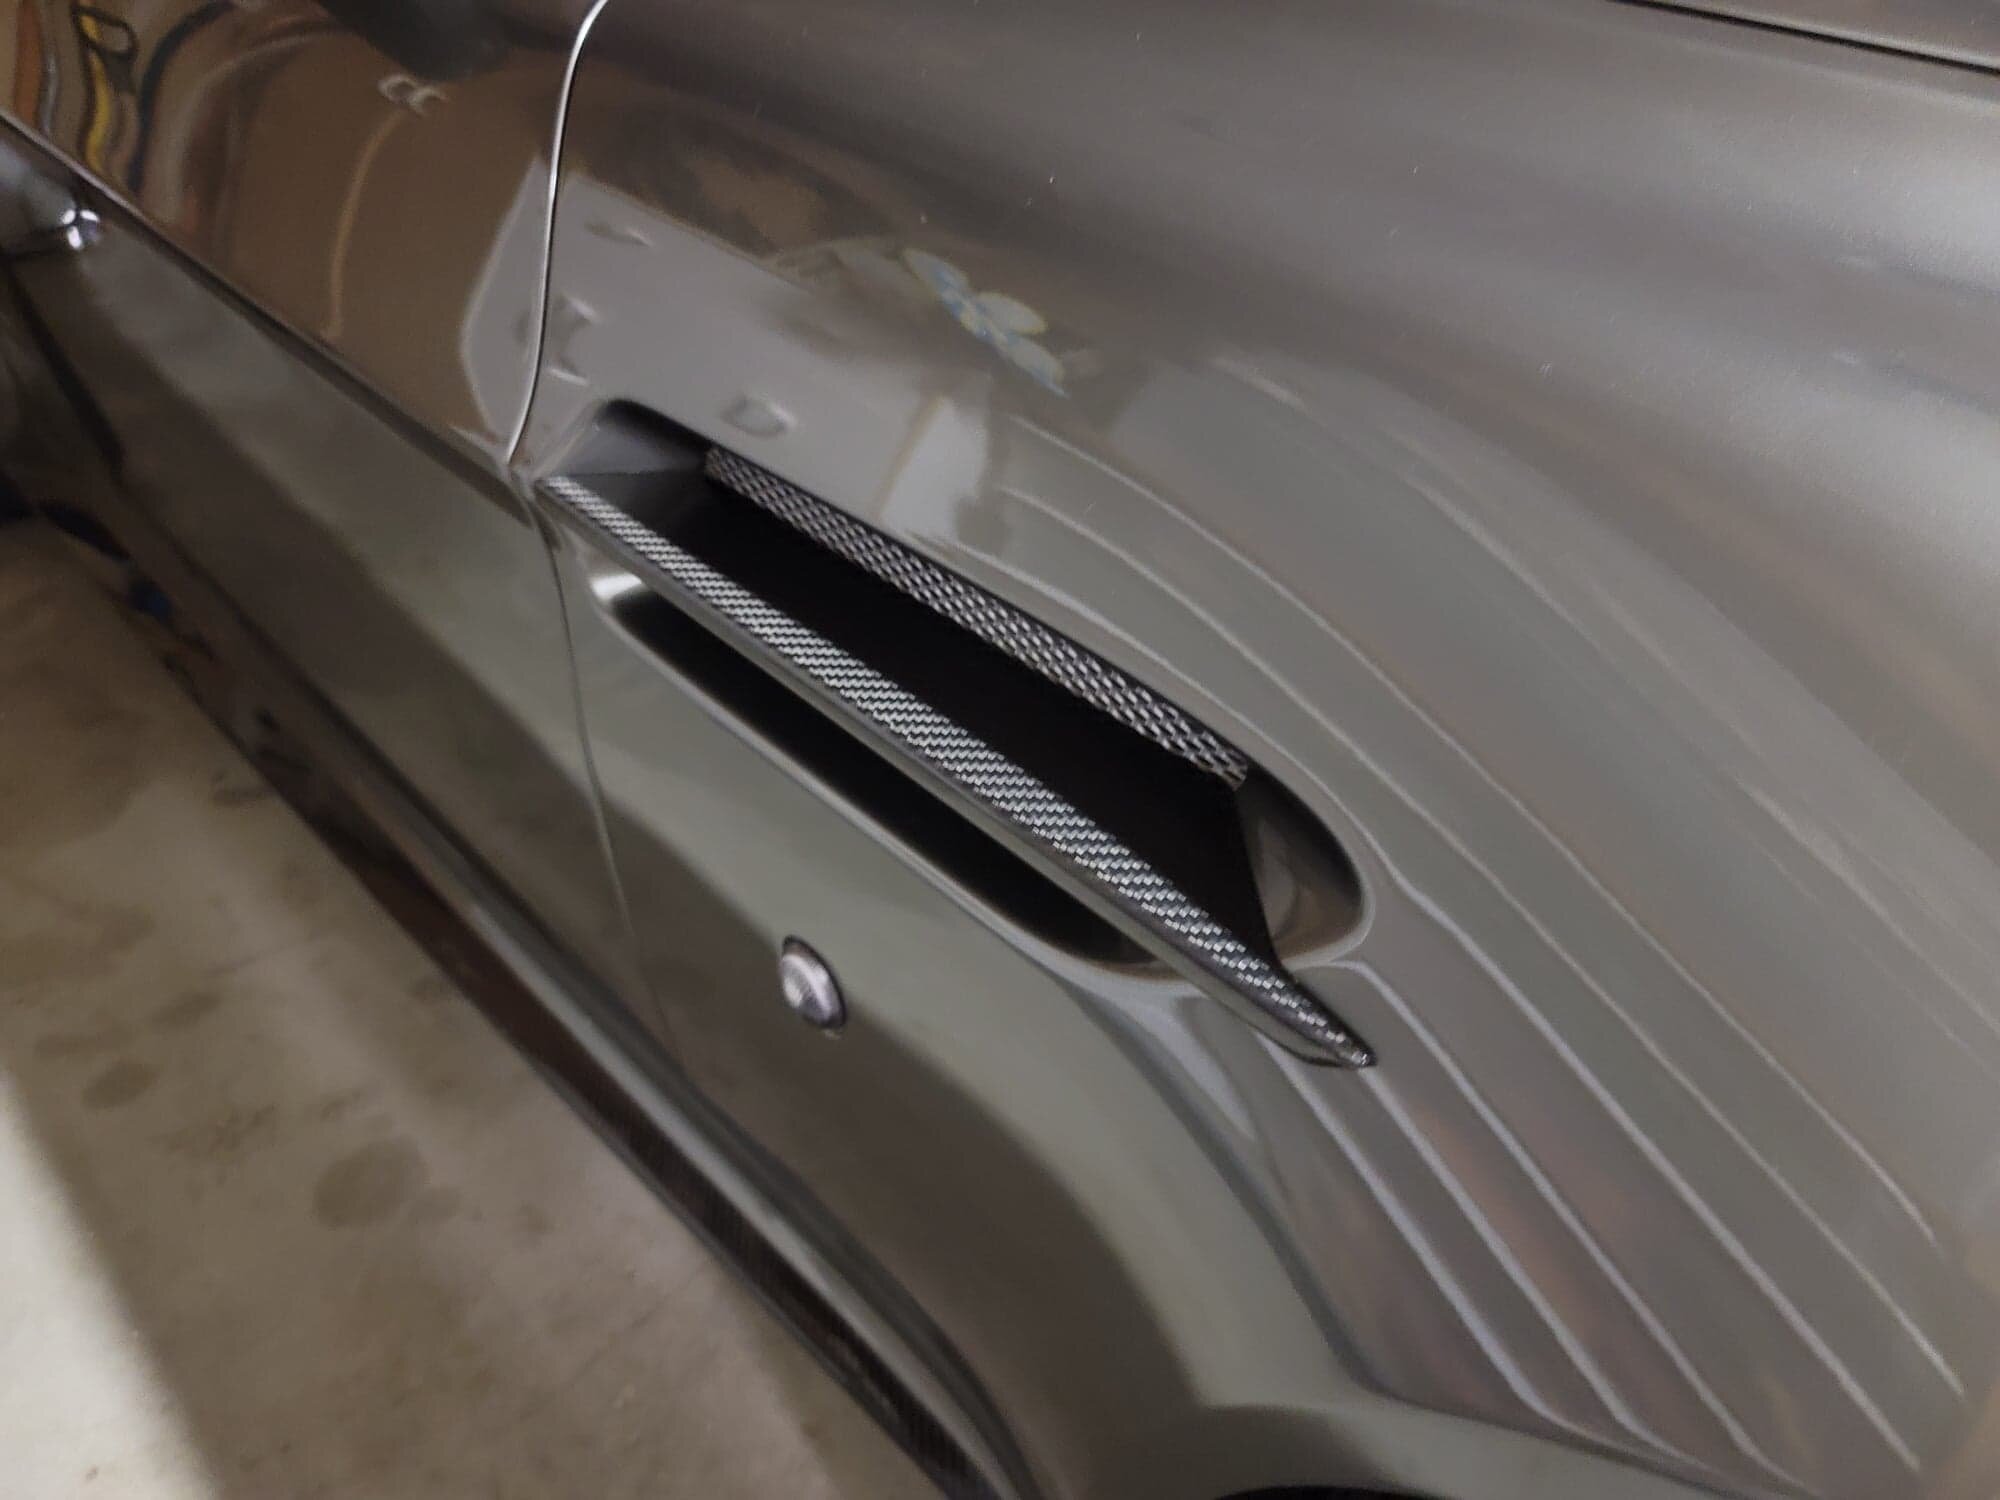
The standard fender vent strakes on a Gaydon-era Aston Martin are chrome, but they’re easy to remove if you want to switch them out for carbon fiber ones or if you want to refinish your originals. Whatever you choose, this DIY Guide will show you how to replace them.
Needed
New fender vent strakes (optional)
T30 Torx bit
10mm socket
Ratchet
Philips-head screwdriver
About an hour
Step 1
Brake the lug nuts loose on the front wheels. You don’t need to remove them entirely, just one spin will do.
Raise the car using a lift or a jack and jack stands, then take off the front wheels.
Step 2
Use the screwdriver, T30 Torx bit, and ratchet to remove the front fender liners, or at least pull the rear half out of the way enough to gain access to the area where the fender vents are located.
Step 3
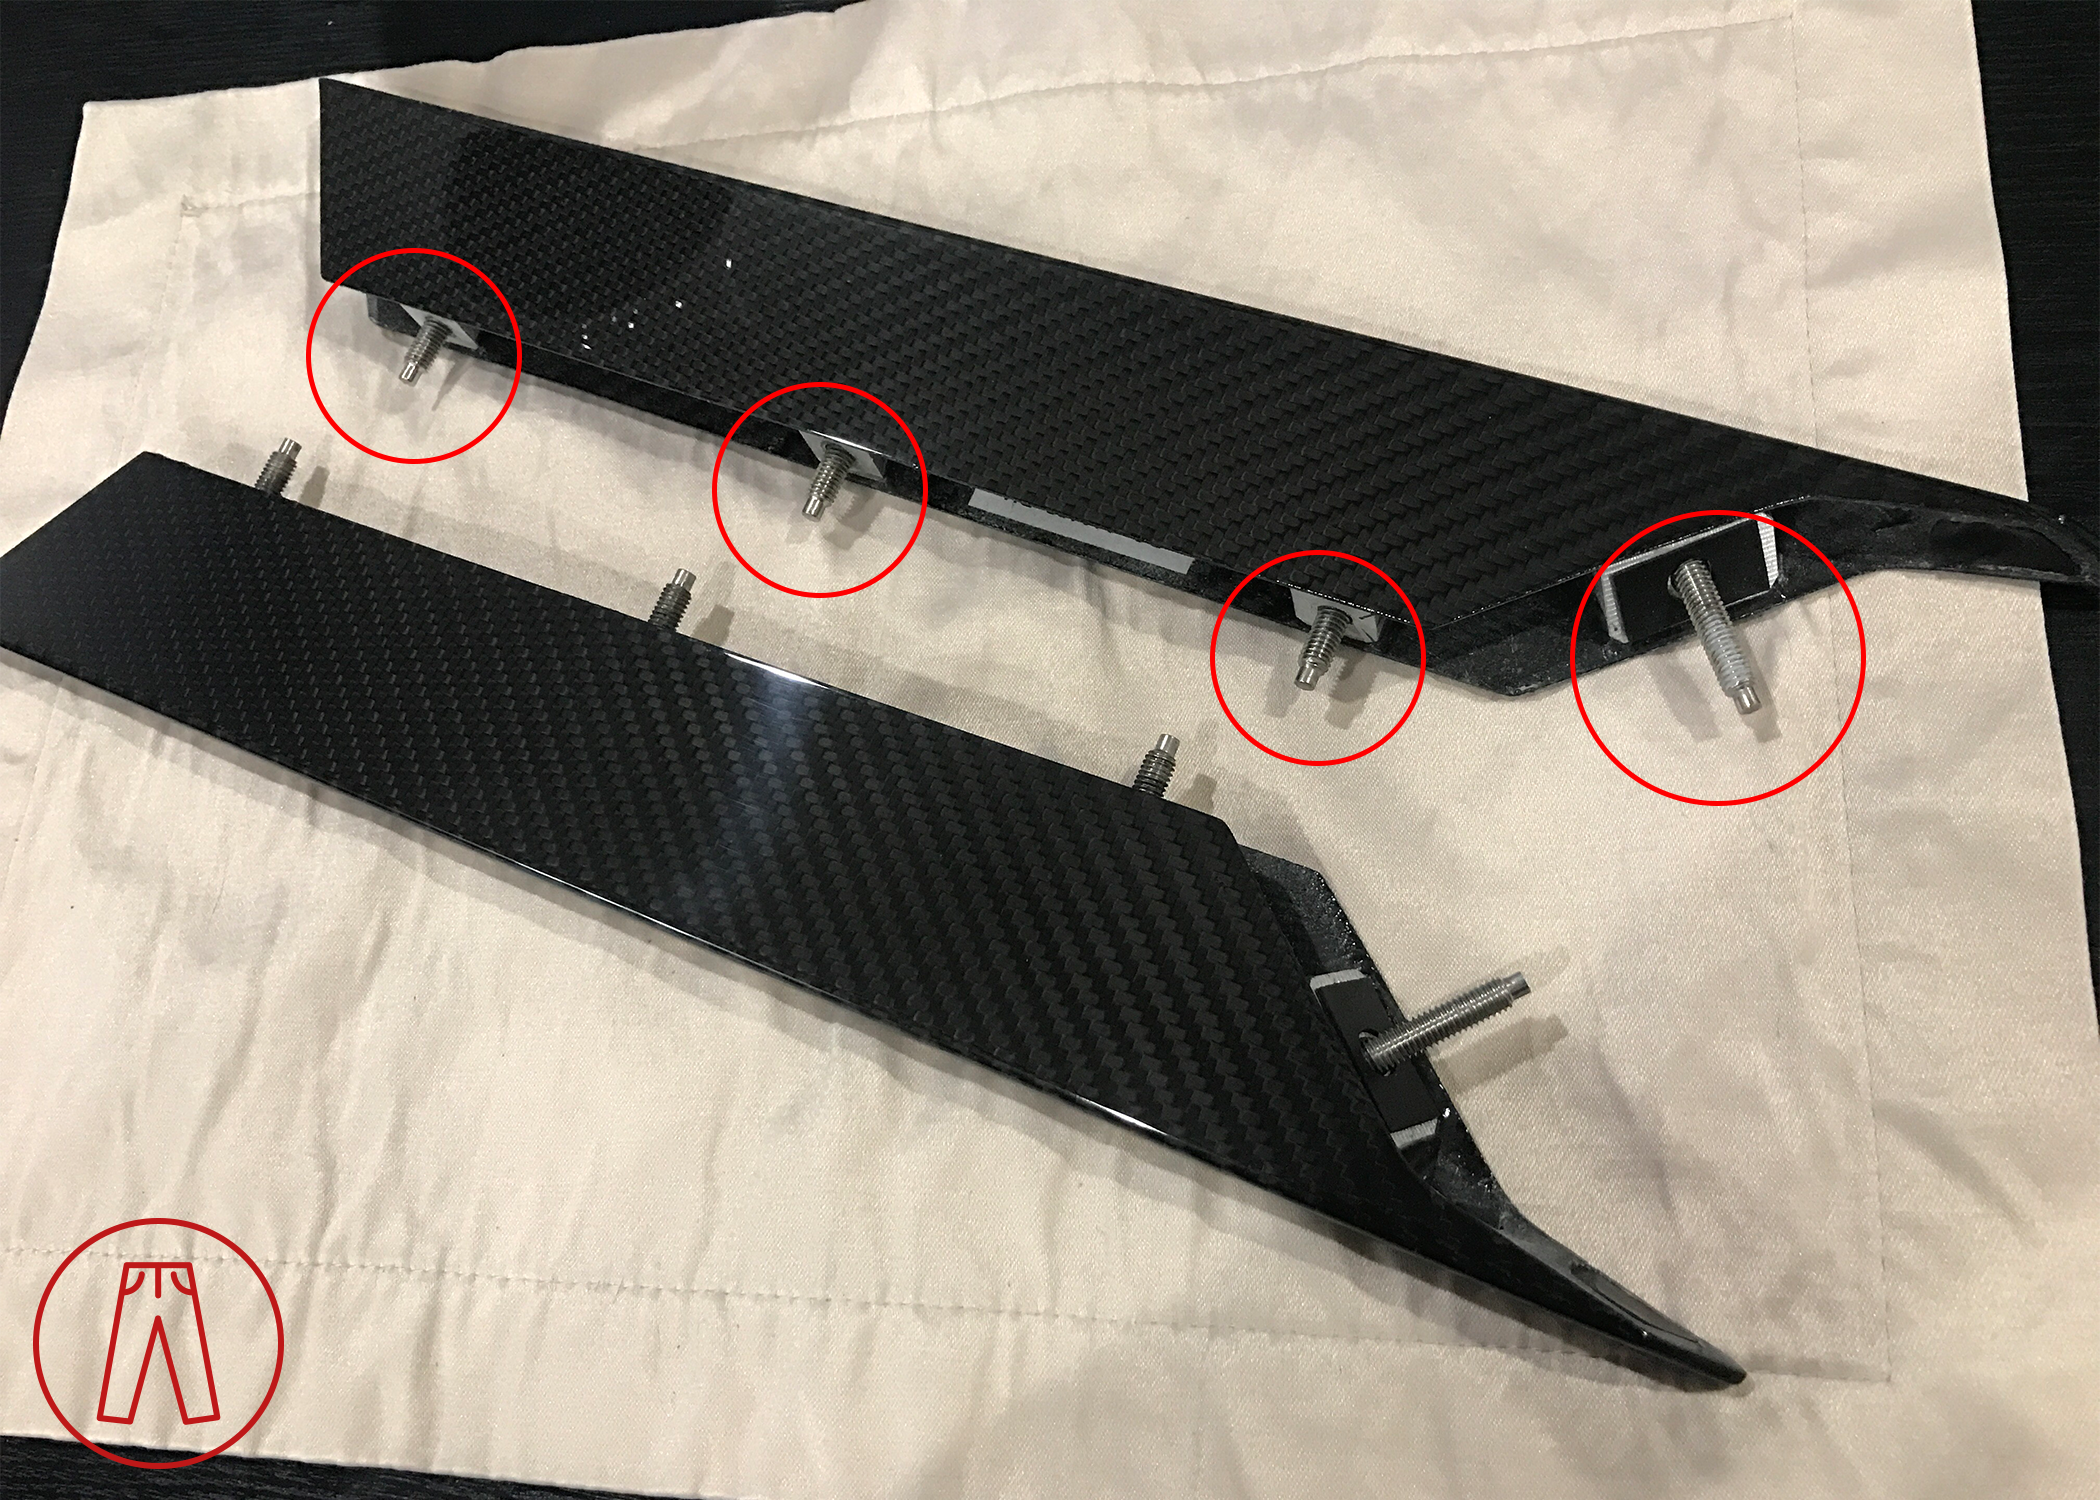
Use the 10mm socket and ratchet to remove the four nuts on the backside of the fender vent strake. Here’s a pic showing where they’re located to help you find them.
Once the nuts are removed, the strake and vent mesh can be removed from the car so keep hold of them in case they fall.
Step 4
Follow the steps above in reverse order to install the fender vent strakes.
And that’s it!