

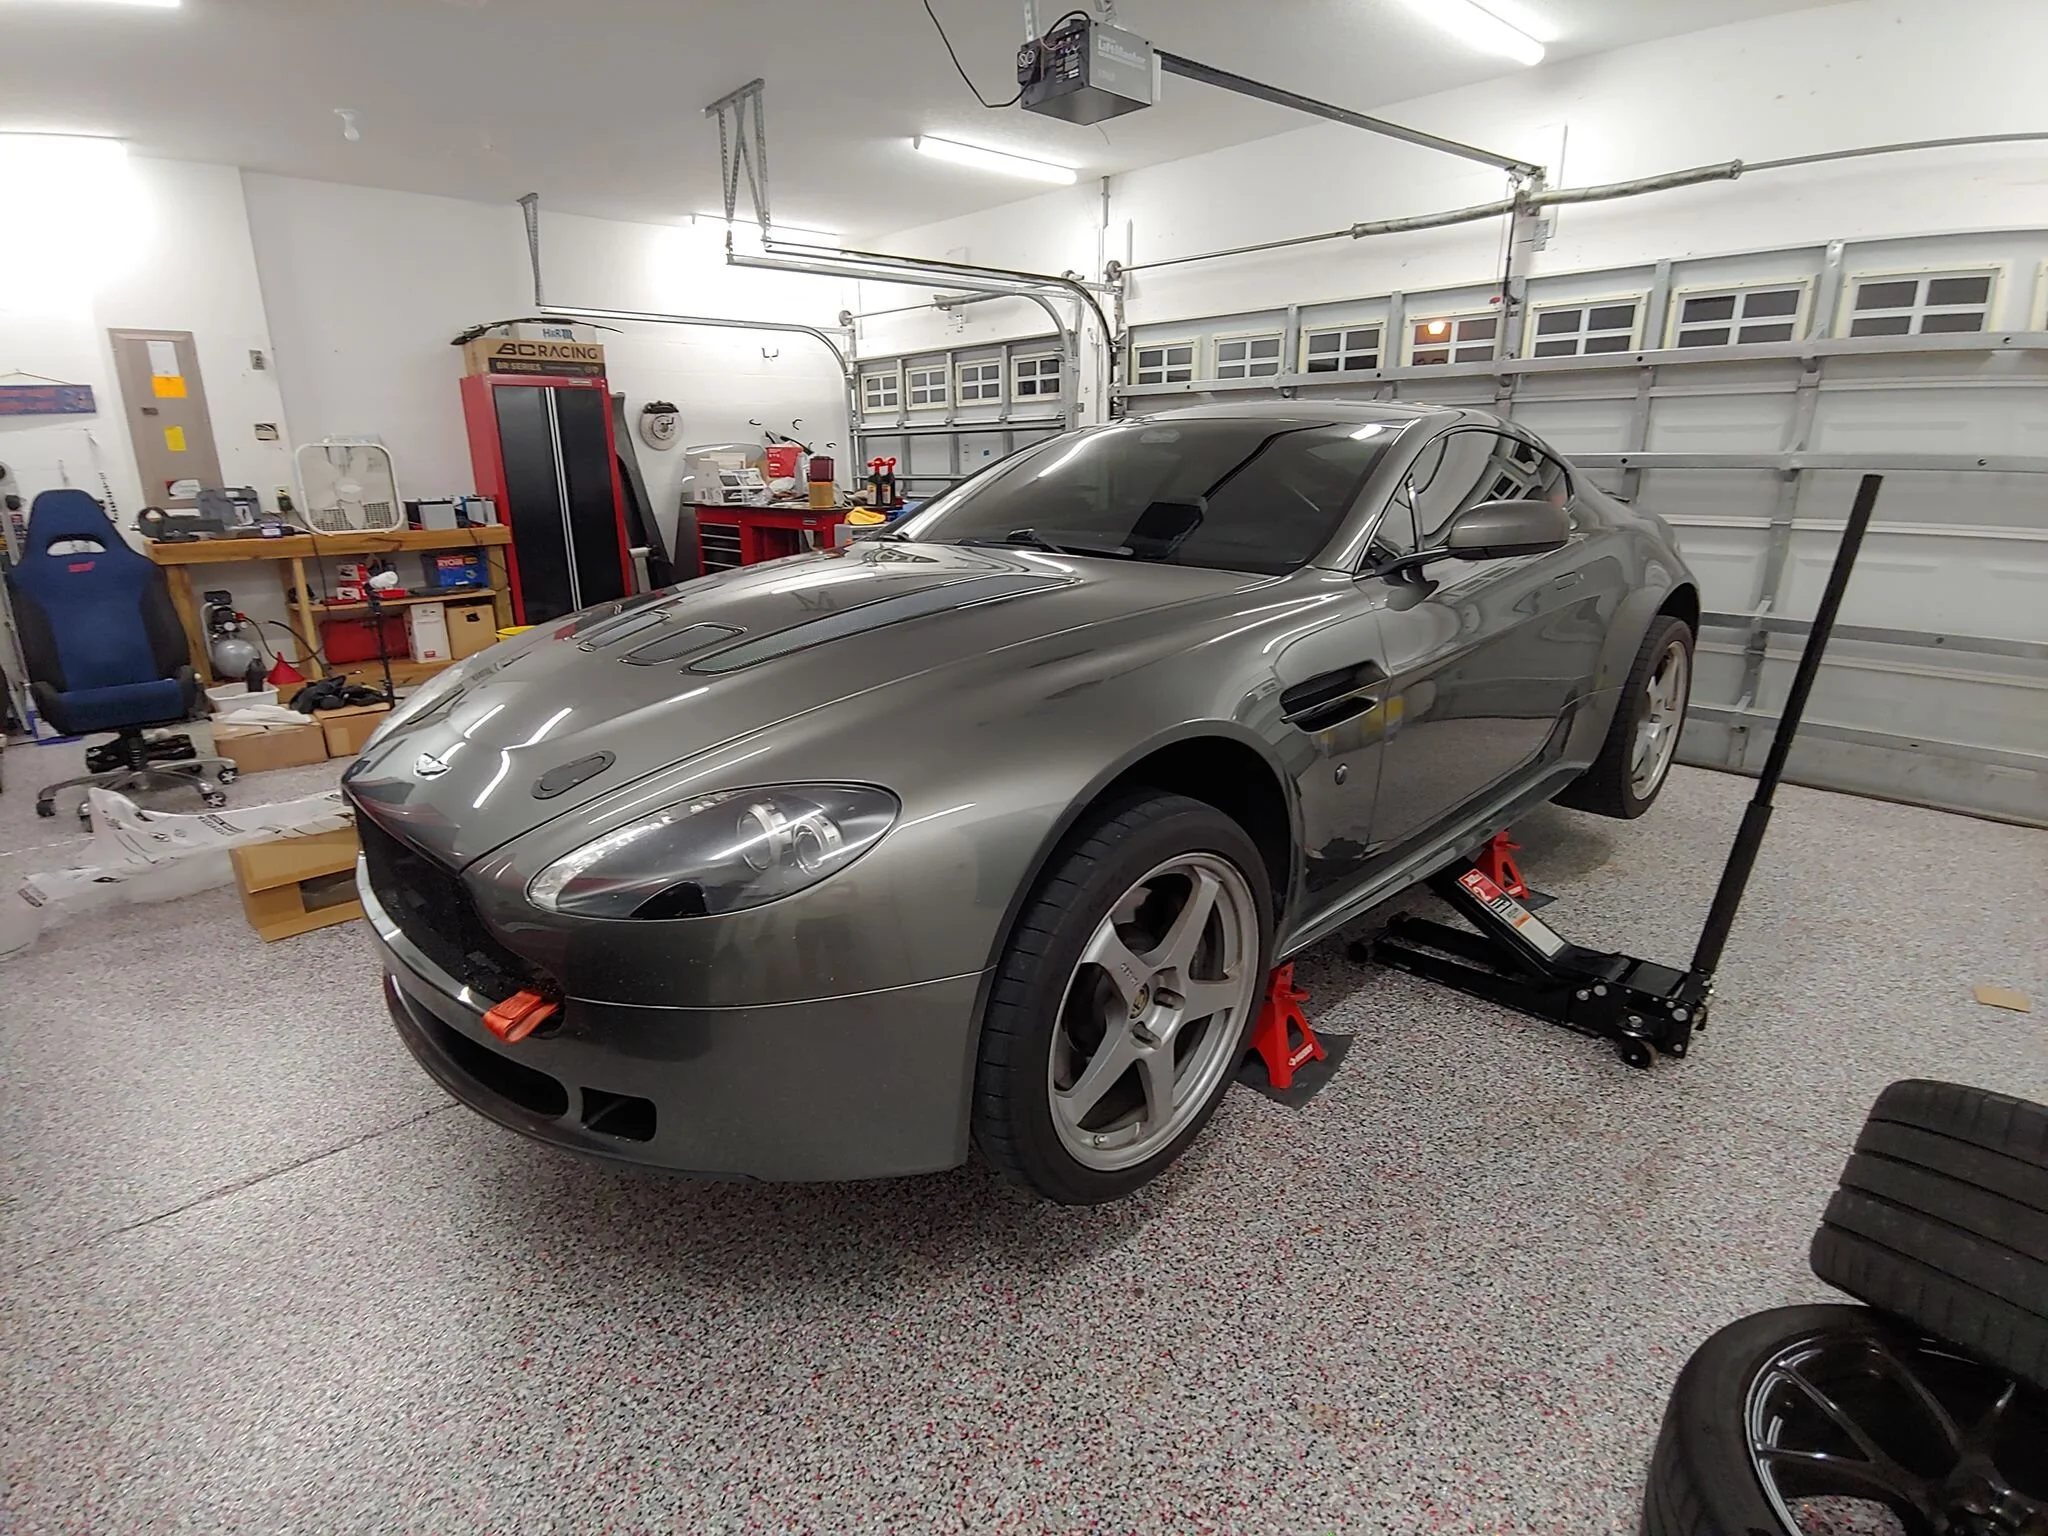
Torquing the Lug Nuts
DISCLAIMER / 免責事項
As always, follow all safety protocols. Don't undertake this task if you aren't comfortable with it, fully understand it, and are capable of completing it. The information provided may be incomplete or inaccurate. You are ultimately responsible for anything you do. Redpants is not responsible or liable for anything that may occur.
常にすべての安全プロトコルに従ってください。この作業に不安があり、十分に理解しておらず、完了する能力がない場合は、作業を行わないでください。提供される情報は不完全または不正確である可能性があります。ご自身の行動に対する最終的な責任は、ご自身にあります。Redpantsは、発生する可能性のあるいかなる事象についても責任を負いません。
WARNING
DO NOT use anti-seize, grease, or any kind of lubricant on lug nuts unless specifically required to do so. These can change the effective torque being applied to the lug nuts and result in over-torquing. In some cases they can also cause other problems like corrosion.
DO NOT use air tools or impact guns on lug nuts as these can damage their finish.
Check what torque is required for your specific lug nuts. Actual torque specs can vary greatly from one type of lug nut to another.
Many of the things we do to our Aston Martins require us to take the wheels off, and that’s a pretty simple thing to do. Putting the wheels back on is also pretty simple, but there’s actually more to it than many people might realize. That’s because there’s actually a process for how the lug nuts should be installed to make sure they’re safe, secure, and don’t have any issues at high speeds. The Owner’s Manual and Workshop manual each explain how to do this, but actually contradict each other. So what I’ve done is come up with my own process, which I detail in this DIY Guide.
If you want a whole lot more info about lug nuts, including titanium lug nuts from Aston Martin and Redpants, check out this worryingly-long video:
Needed
Redpants Titanium Lug Nuts (optional)
Torque wrench
Lug nut socket
Wheel Chocks (optional)
About five minutes
Before you begin
You can technically do this job with a normal ratchet and socket, but the best thing to do is get the correct tools for the job: a torque wrench and a lug nut socket. These will ensure you apply the correct amount of torque to all lug nuts and that your lug nuts don’t get damaged.
This job can be done a few ways, but I’m writing it assuming you’re using jack stands or a lift, on which the car’s wheels hang freely. Don’t worry about it too much, the important part is the torque and how it’s applied in Steps 4 and 5.
Warning: Torque specs vary based on size, material, and manufacturer. Make sure you’re using the correct spec for your lug nuts.
Step 1
Put the wheel onto the car and hold it so that it sits flat against its mounting surface.
Put the first lug nut in the bottom-most position on the wheel and hand-thread it until it’s snug.
NOTE: Aston Martin’s diagrams in the Owner’s Manual and Workshop Manual show the order starting at the top. This may have a reason, or it may have been assigned arbitrarily. I start at the bottom (position 5 in the diagram below) to counteract the weight balance of the wheel that causes the bottom of it to swing out away from the car. Regardless of which position you start in, make sure you follow the star pattern.
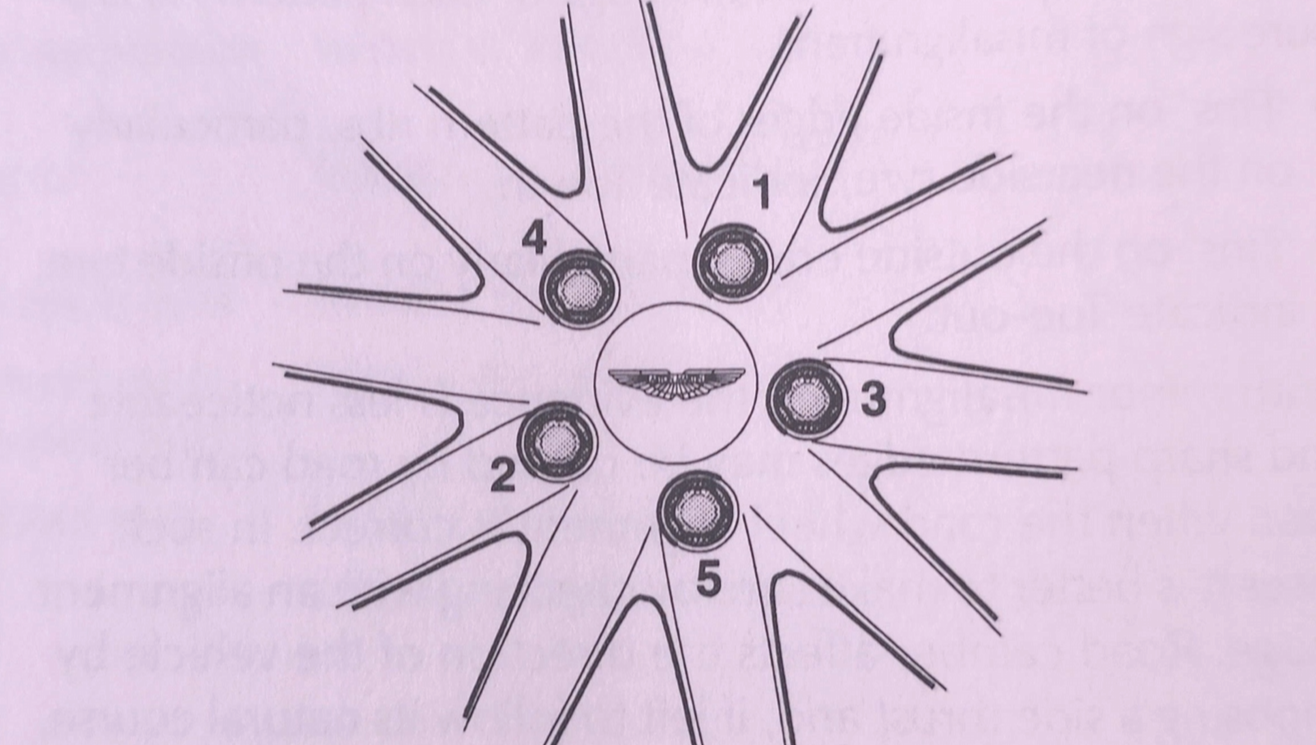
(c) Aston Martin Lagonda
Step 2
Repeat Step 1 for the second lug nut in the position opposite on the wheel from the first lug nut.
Continue with the third, fourth, and fifth lug nuts, continuing to install them in a star pattern.
Step 3
Repeat Steps 1 and 2 for any other wheels that need to be installed.
Check all of the lug nuts to make sure they’re all snug so that the wheels don’t move or wobble, then carefully lower the car.
Make sure your handbrake is fully engaged and the car is in gear, in park, has wheel chocks, or whatever else you need to do to prevent it from rolling when you start torquing the lug nuts.
Step 4
Set your torque wrench to 80 Nm (60 lb/ft).
Torque the first lug nut that you installed then continue with the rest of the lug nuts, repeating your star pattern.
Repeat Step 4 for the lug nuts on any other wheels that need to be torqued.
Step 5
Check the torque requirements for your lug nuts, then set your torque wrench to that spec. The torque specs for the OEM lug nuts listed below are taken from the Workshop Manual, and the torque specs for tRedpants Titanium Lug Nuts are from our manufacturer.
OEM 21mm chrome lug nuts: 180 Nm (133 lb/ft)
OEM 22mm chrome lug nuts: 135 Nm (100 lb/ft)
OEM 21mm titanium lug nuts: 150 Nm (111 lb/ft)
Redpants Titanium Lug Nuts: 130 Nm (96 lb/ft)
Torque the first lug nut that you installed then continue with the rest of the lug nuts, repeating your star pattern.
Repeat Step 5 for the lug nuts on any other wheels that need to be torqued.
Step 6
Drive the car for 20 miles (about 32 km), then check the torque on all lug nuts, using a star pattern on each wheel.
And that’s it!