

Map Light Bulb Replacement DIY Guide
DISCLAIMER / 免責事項
As always, follow all safety protocols. Don't undertake this task if you aren't comfortable with it, fully understand it, and are capable of completing it. The information provided may be incomplete or inaccurate. You are ultimately responsible for anything you do. Redpants is not responsible or liable for anything that may occur.
常にすべての安全プロトコルに従ってください。この作業に不安があり、十分に理解しておらず、完了する能力がない場合は、作業を行わないでください。提供される情報は不完全または不正確である可能性があります。ご自身の行動に対する最終的な責任は、ご自身にあります。Redpantsは、発生する可能性のあるいかなる事象についても責任を負いません。
As the easiest, cheapest, and quickest way to improve an Aston Martin, this tutorial is a great first DIY job. The early DB9 and V8 Vantage used crappy yellow bulbs for the map lights. By swapping them out with LED lights, the feel of the interior is immediately transformed with a clean light far more fitting for a car of this caliber.
Needed
LED map lights
Narrow trim tool or tiny flat-head screwdriver
About 5 minutes
Before you begin
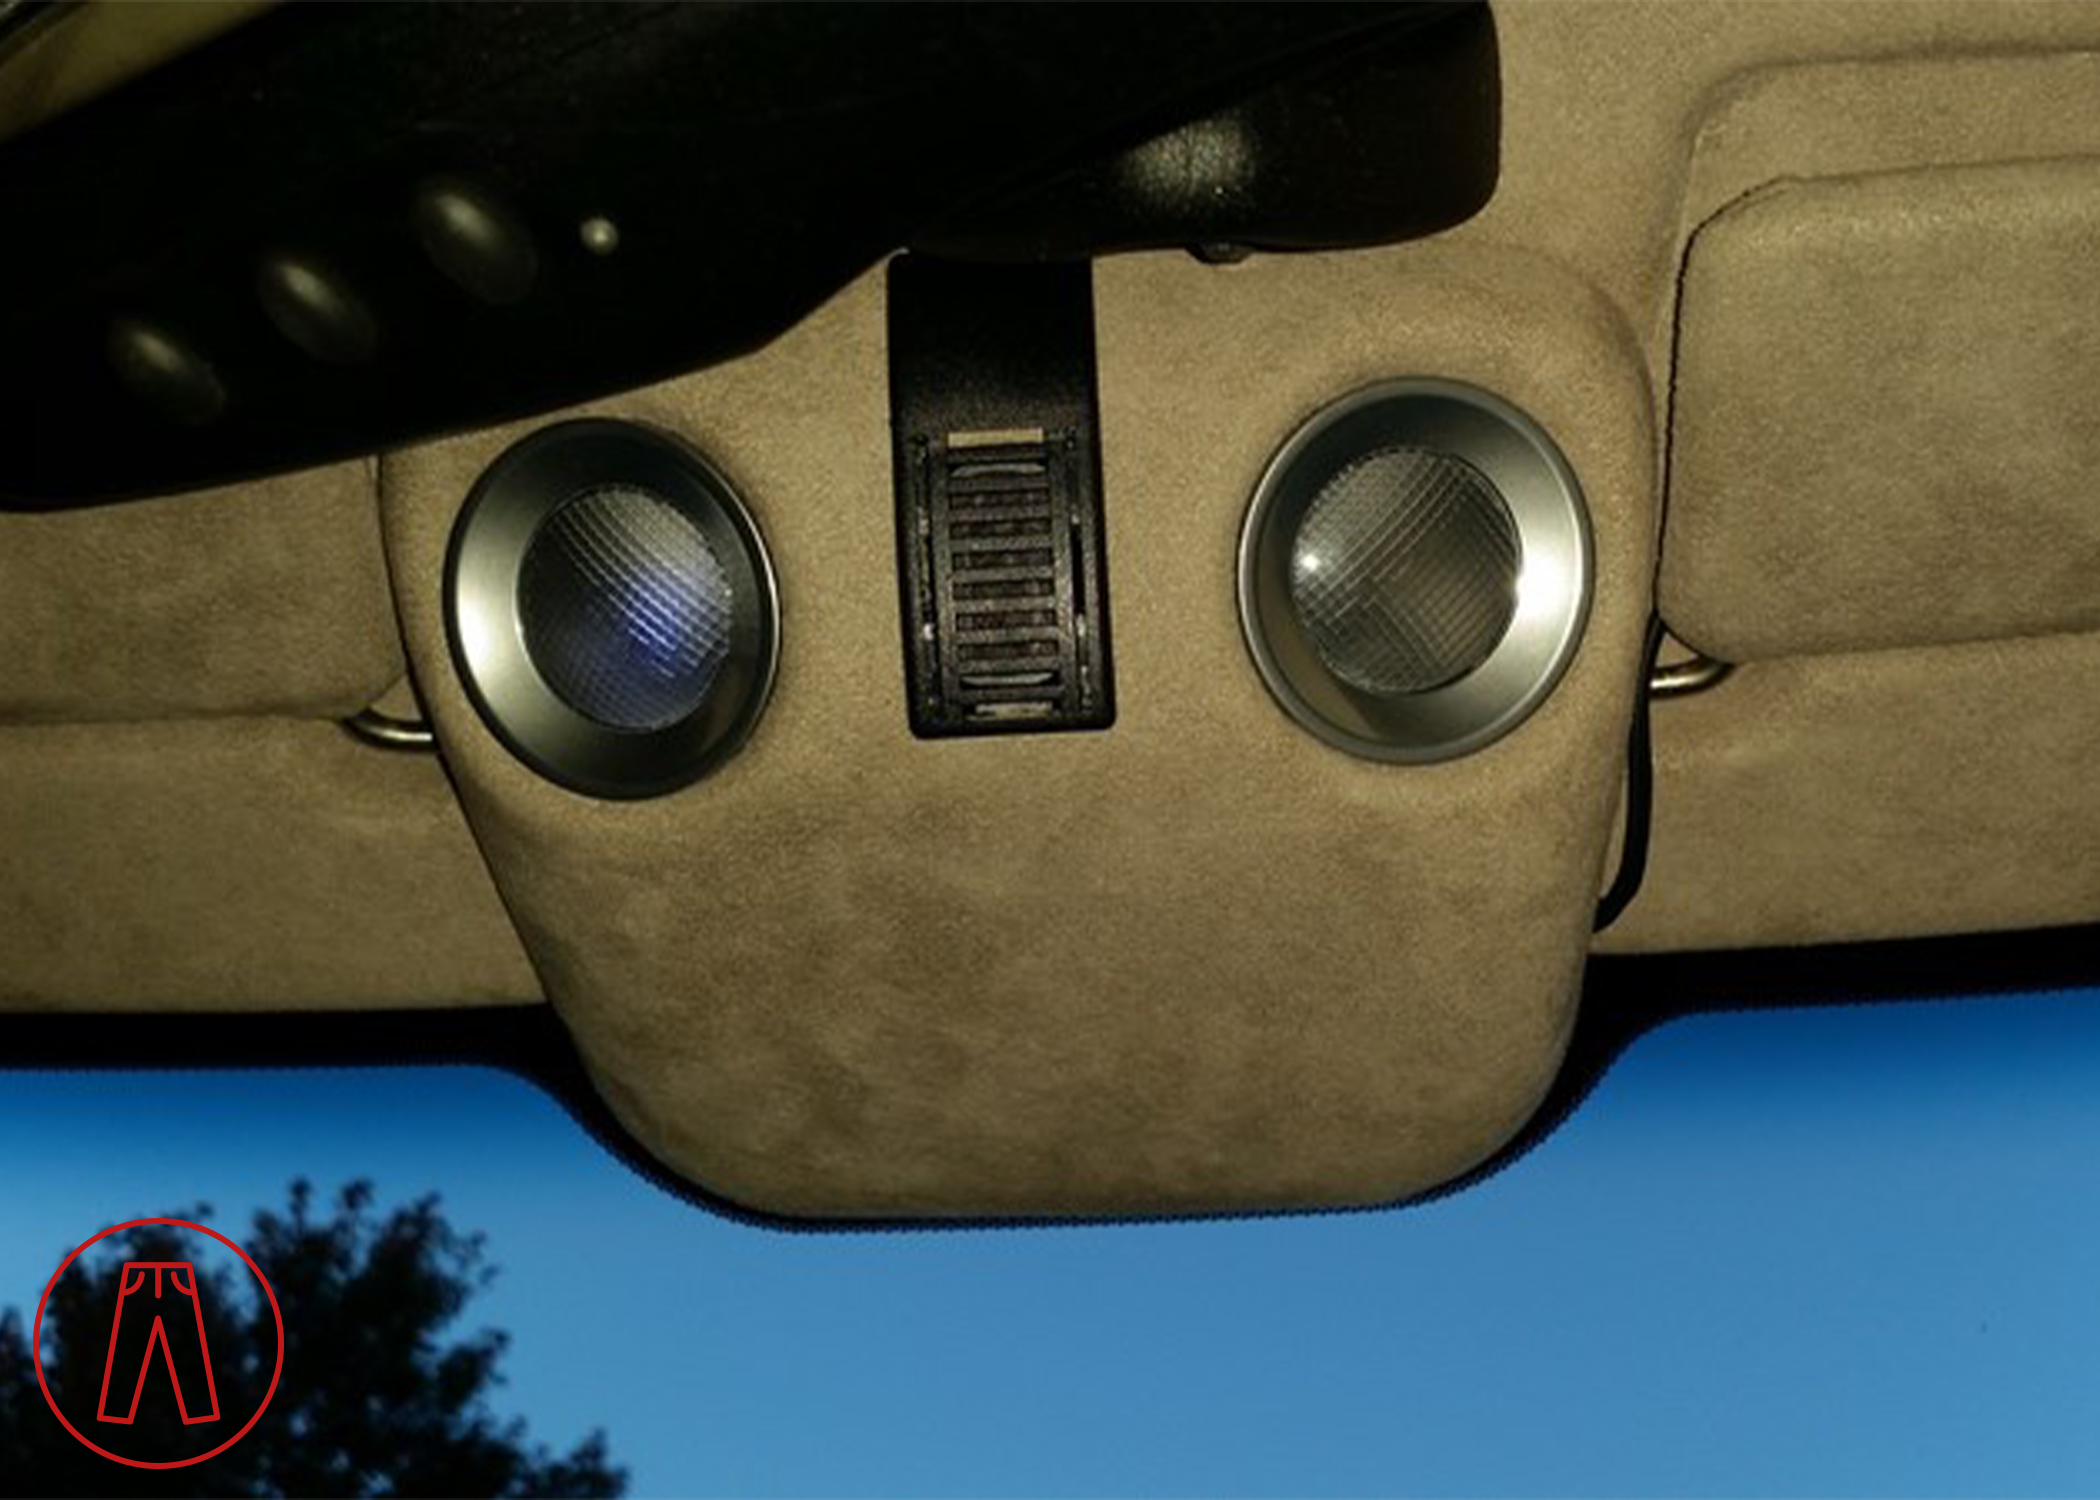
You'll see in the first picture below that I don't have a yellow bulb installed. I have been using LEDs in my map lights for a few years now, but they needed to be replaced. The old bulbs are no longer made, and the new ones seem to be a far superior design.
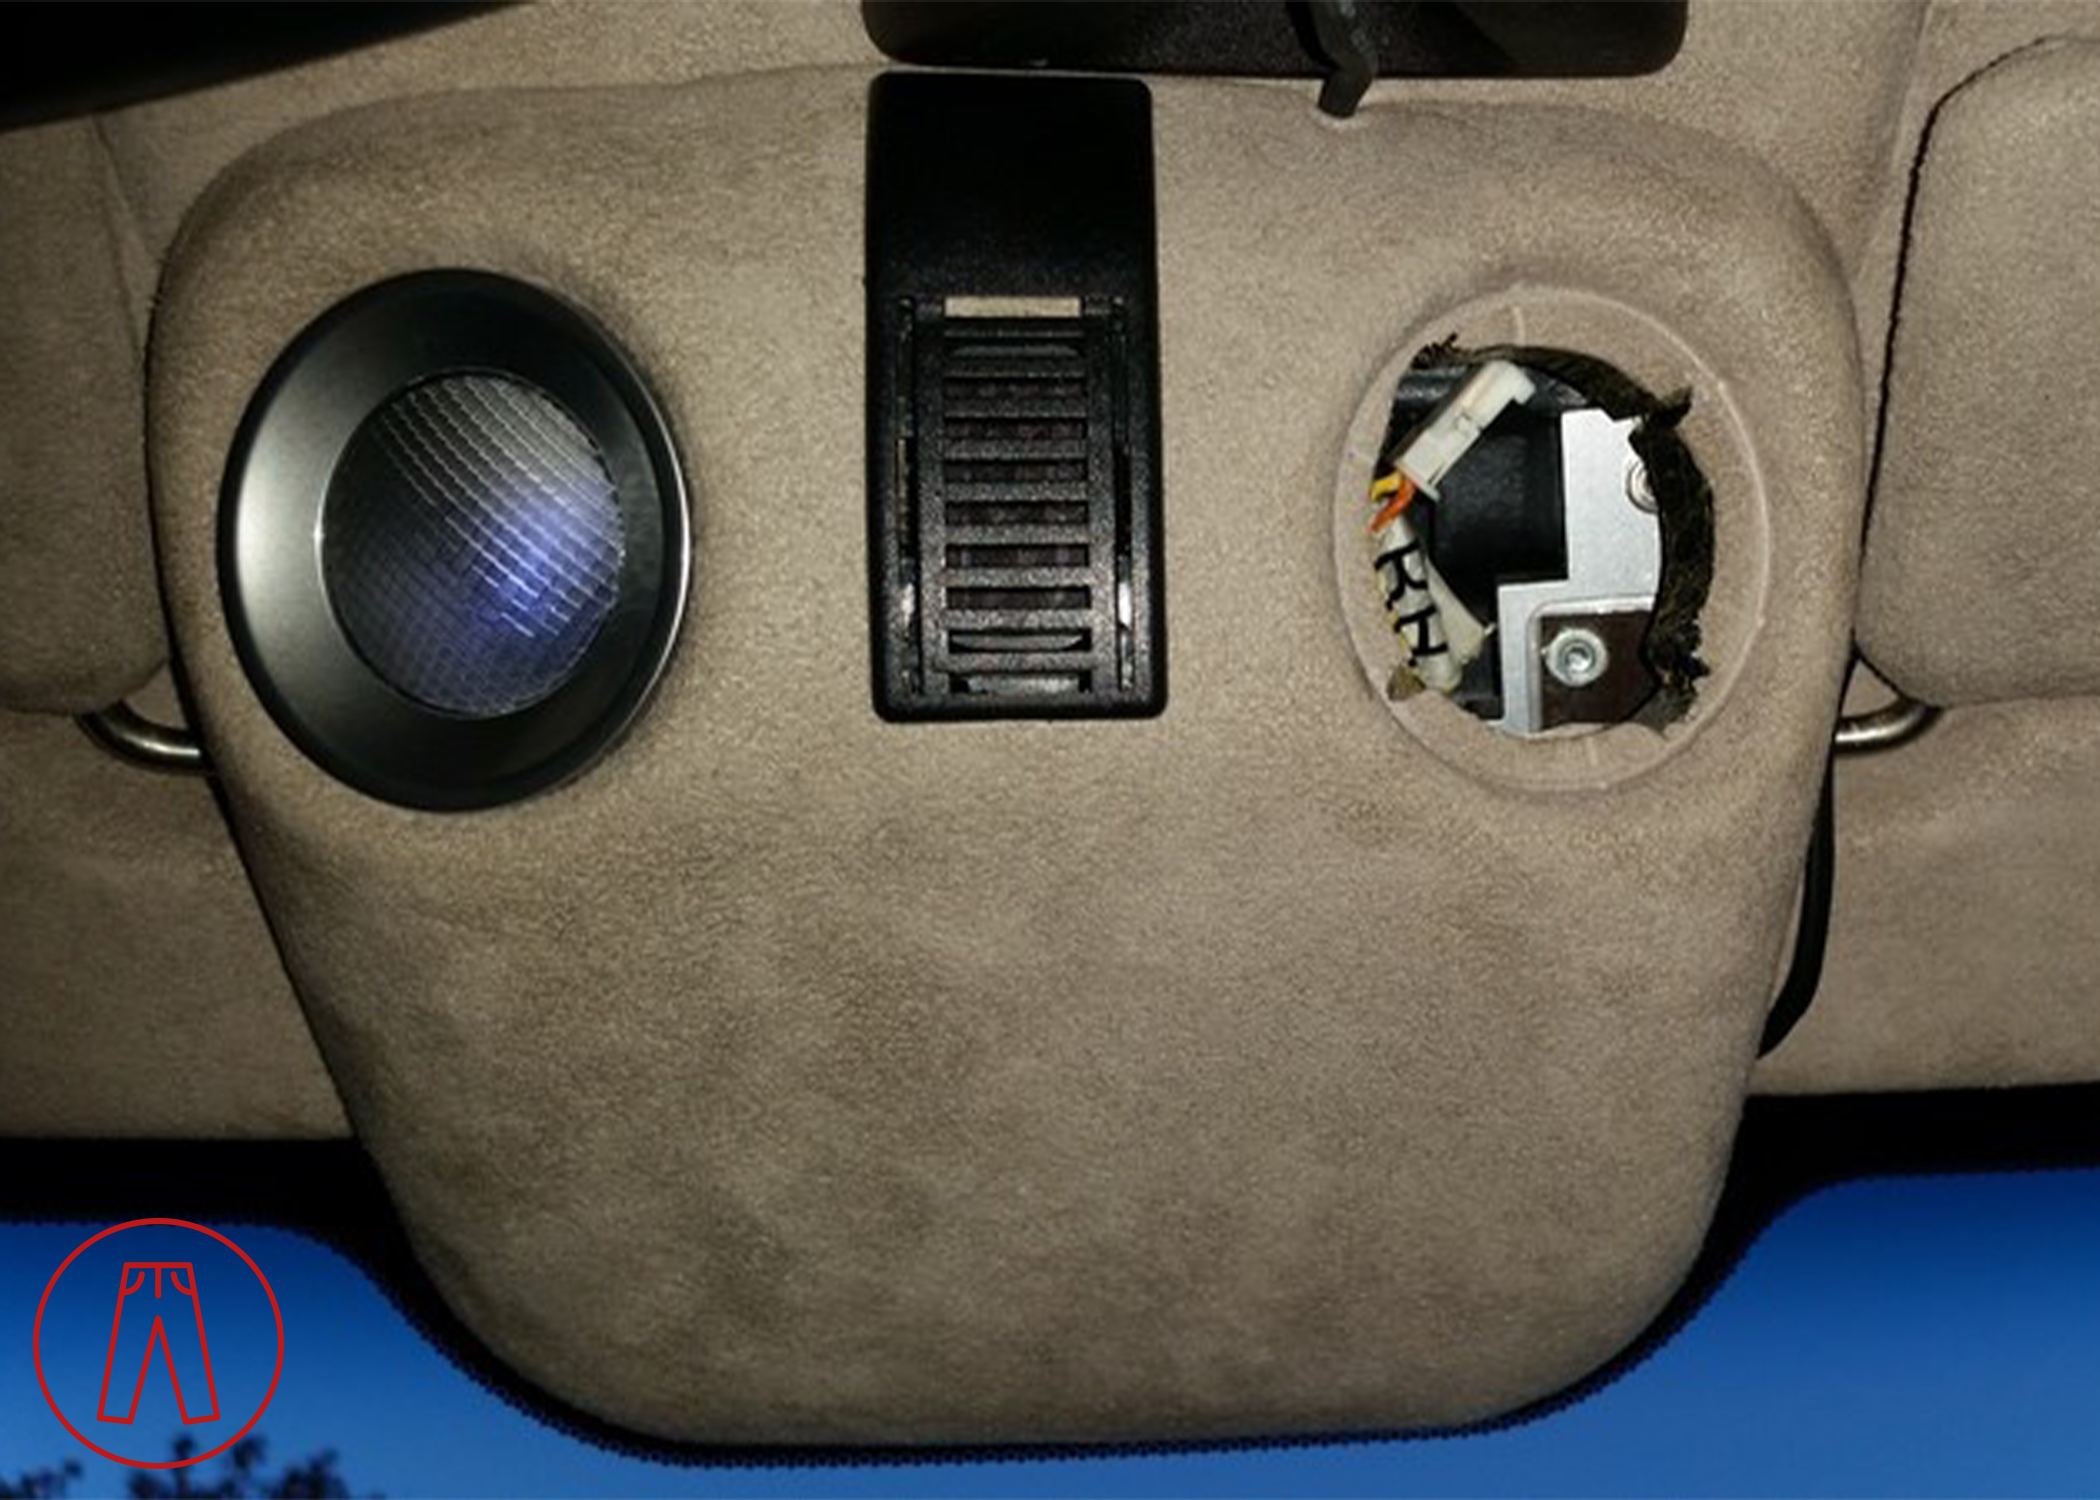
Here you can see one dying light and one completely dead:
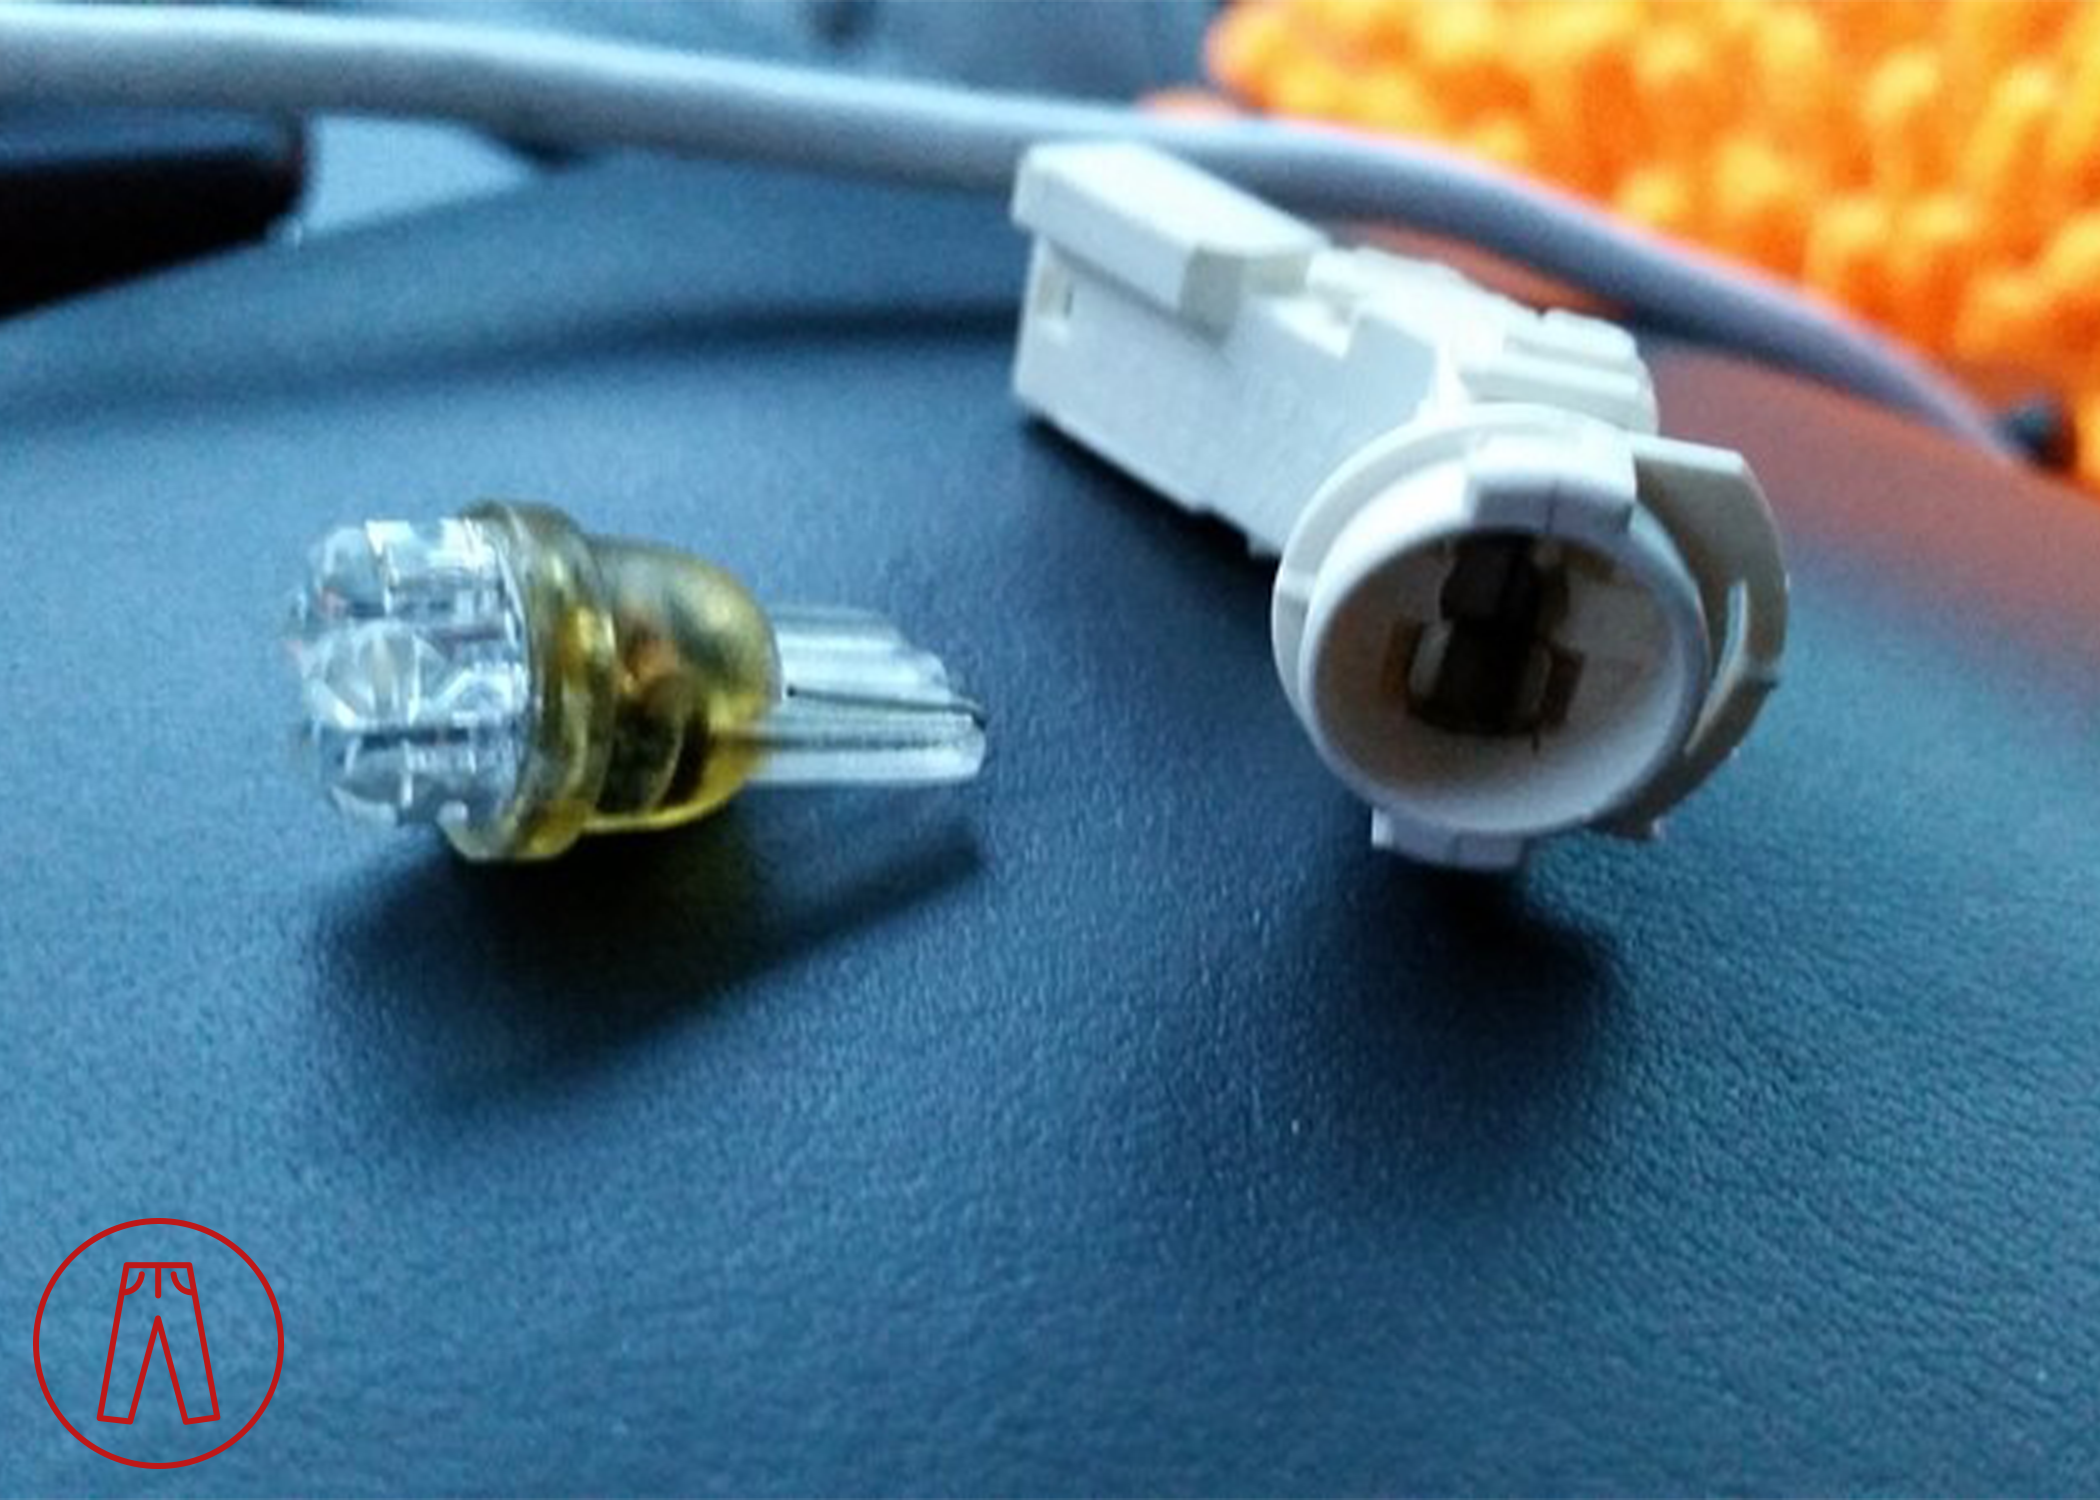
This pic shows the plastic bulb socket unclipped from the wiring, along with the old-style LED bulb:
Step 1
Put the tip of your tiny screwdriver between the plastic bezel and the alcantara. Carefully pry the bezel loose from the alcantara. Once you start getting it loose, work around the bezel to pull it out evenly to reduce the risk of damage. (Once you've done this once and seen how easy it is, you'll be a lot more liberal with your prying.)
Step 2
Gently twist the bezel and plastic bulb socket to release the socket from the bezel.
Step 3
Remove the old bulb, insert the new one. Test the new map light to make sure it works.
Step 4
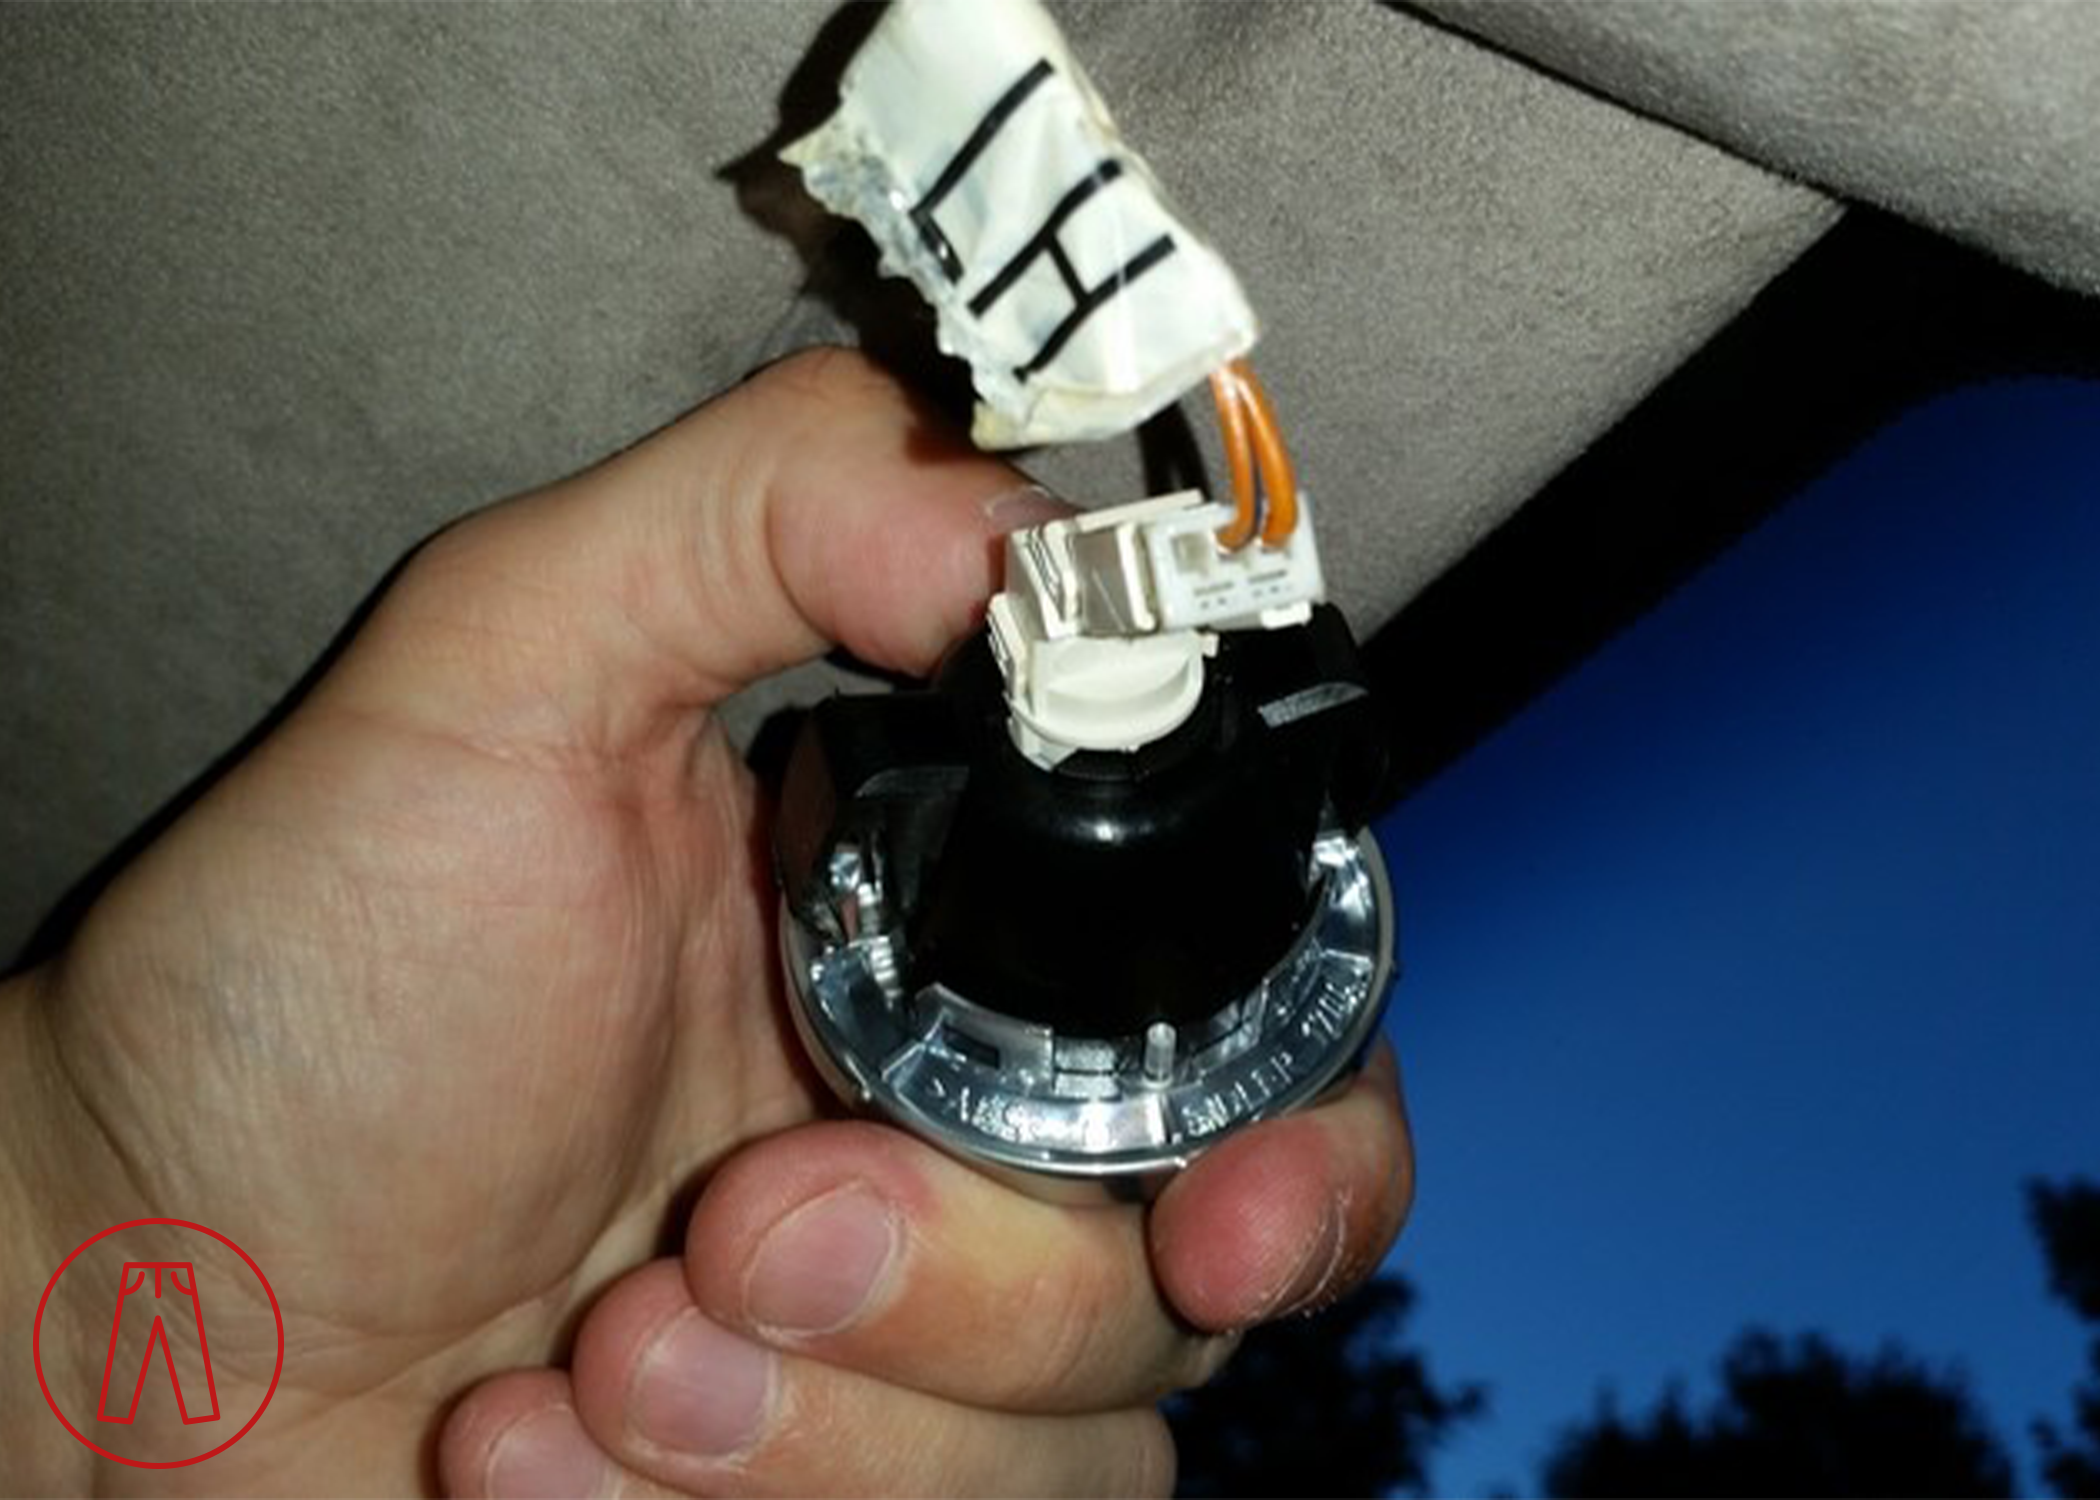
Insert the bulb socket back into the bezel, and twist gently to lock it in place. It should look something like this:
Step 5
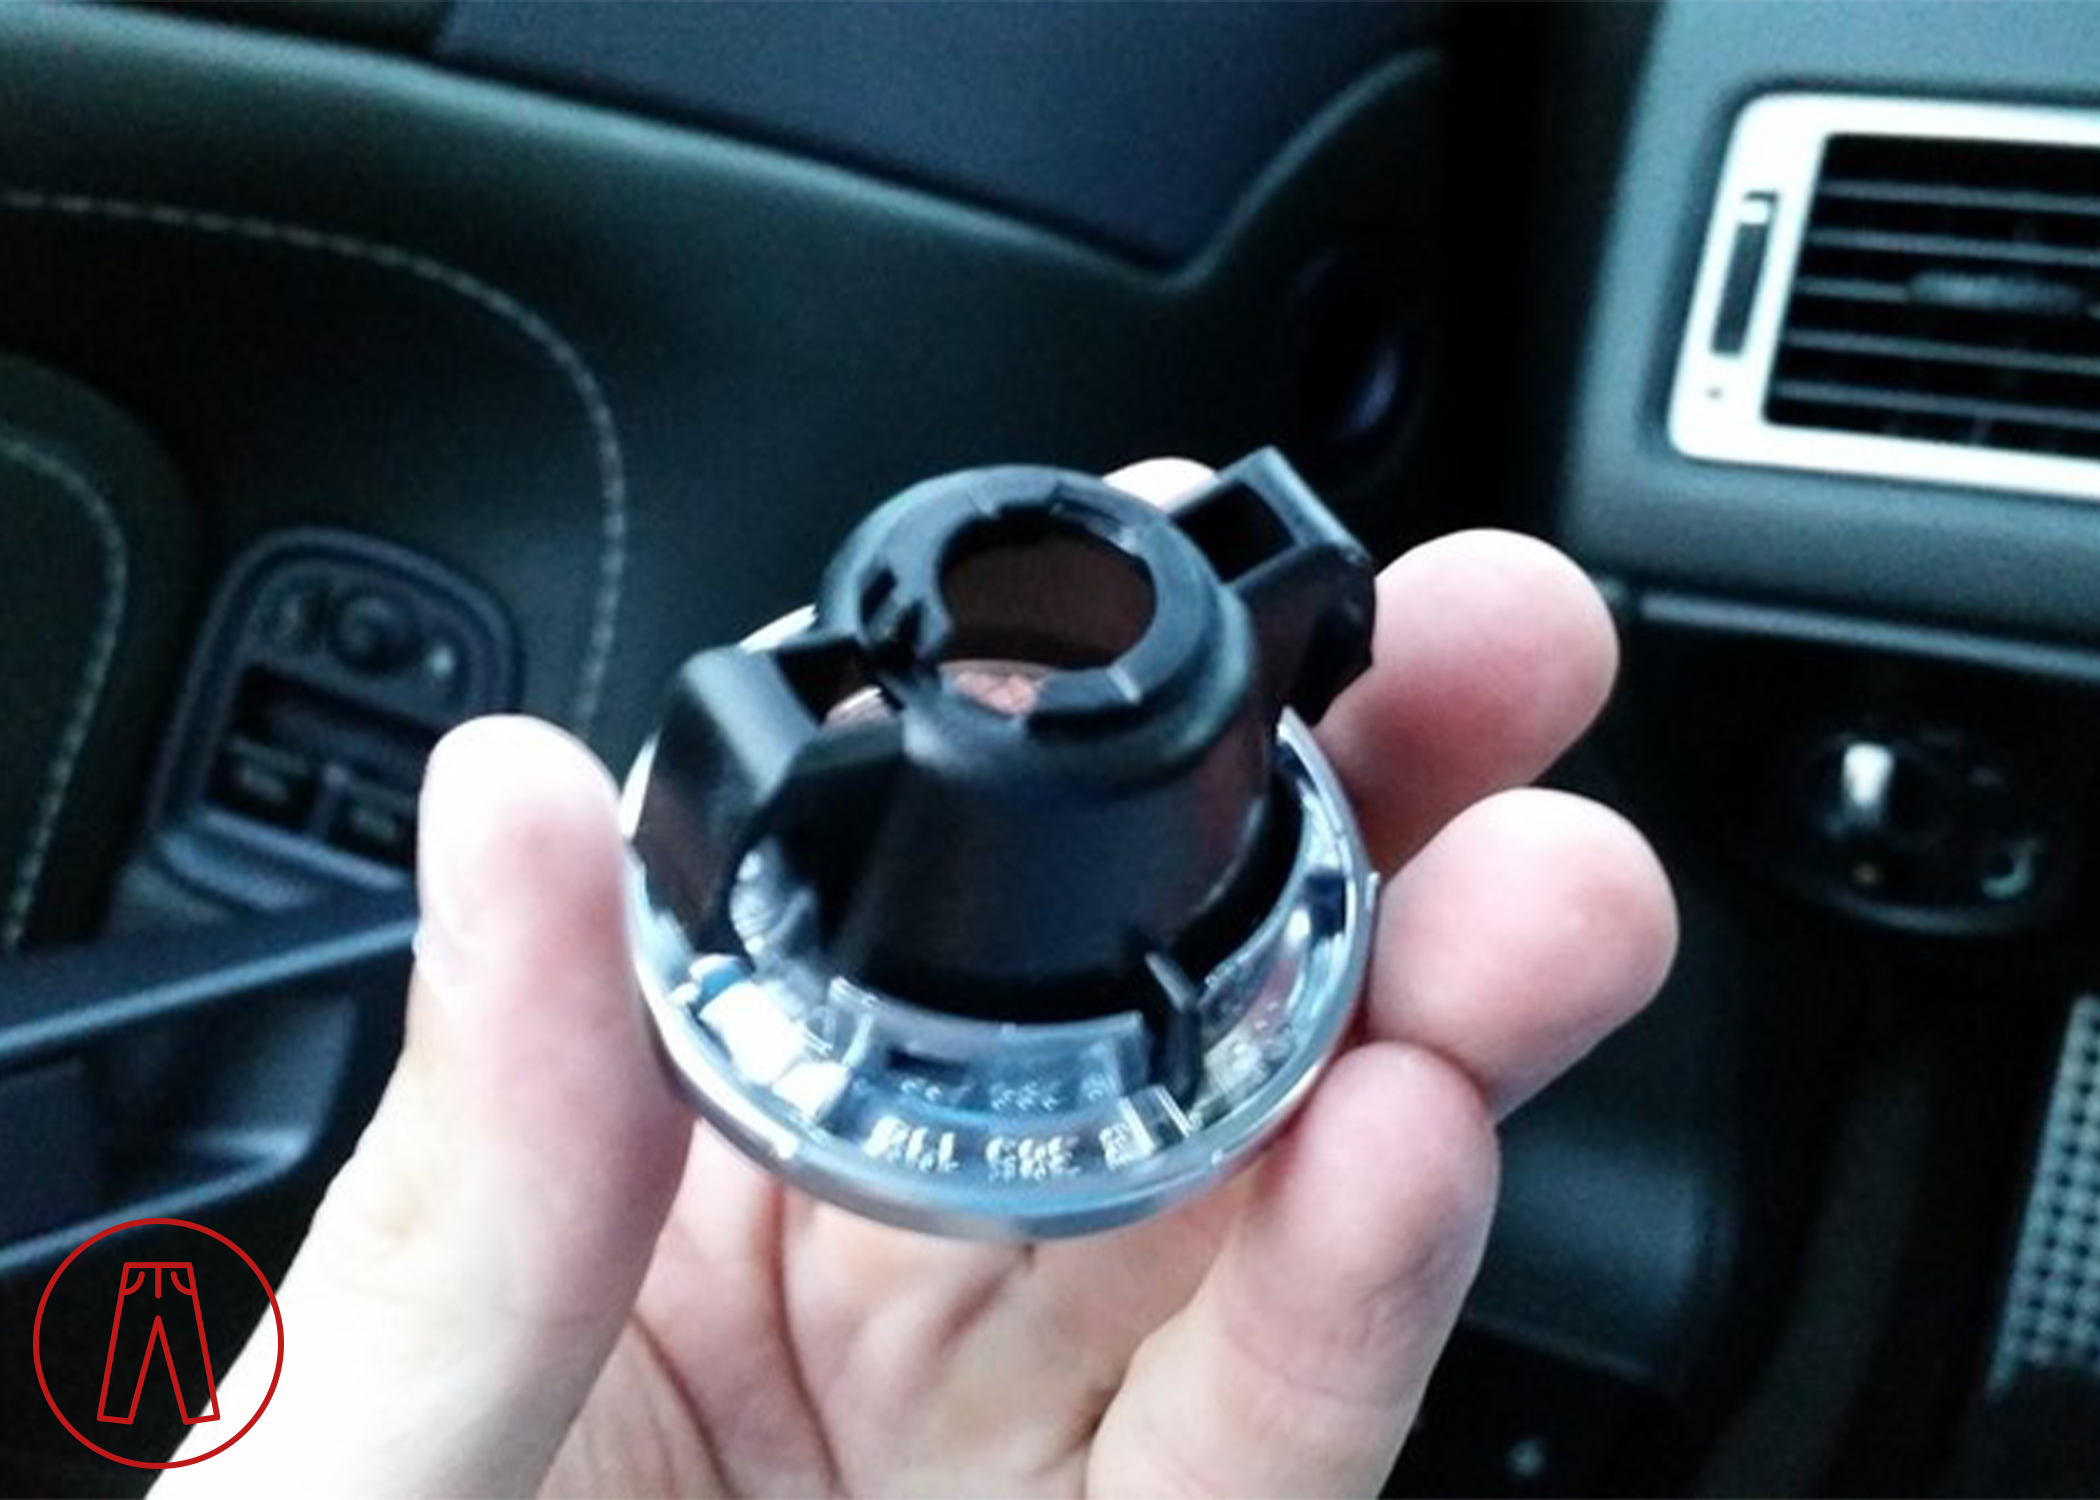
Line up the wide sections on the backside of the bezel with the larger openings in the alcantara. Push the bezel back in place in the alcantara headliner. You can see the wide sections in this picture:
And where they fit in this picture, in the 5-o'clock and 11-o'clock positions:
Step 6
Repeat Steps 1 through 5 for the other map light.
And that's it!