

Redpants License Plate Mount Installation DIY Guide
DISCLAIMER / 免責事項
As always, follow all safety protocols. Don't undertake this task if you aren't comfortable with it, fully understand it, and are capable of completing it. The information provided may be incomplete or inaccurate. You are ultimately responsible for anything you do. Redpants is not responsible or liable for anything that may occur.
常にすべての安全プロトコルに従ってください。この作業に不安があり、十分に理解しておらず、完了する能力がない場合は、作業を行わないでください。提供される情報は不完全または不正確である可能性があります。ご自身の行動に対する最終的な責任は、ご自身にあります。Redpantsは、発生する可能性のあるいかなる事象についても責任を負いません。
For those of you that are forced by the oppressive hand - nay, fist - of the totalitarian regime of government to put a license plate on the front of your beautiful Aston Martin, I present a more elegant solution than the ungainly plastic thing that is offered by Aston themselves: The Redpants License Plate Mount. This guide will show you how to install it!
Needed
Redpants License Plate Mount
Philips screwdriver
About five minutes
Before you begin
If you have the factory front license plate plinth, you’ll need to remove it. It’s a simple thing to do - just take things off as you uncover each layer. That is, remove the license plate, then the fasteners you find underneath, then the plinth, and then keep removing things until there’s nothing left to remove.
Step 1
Carefully screw each of the bolster studs into the front armature, which is located immediately behind the main grille. The grille stays in place, you’re just sticking the bolster studs through the slats.
Step 2
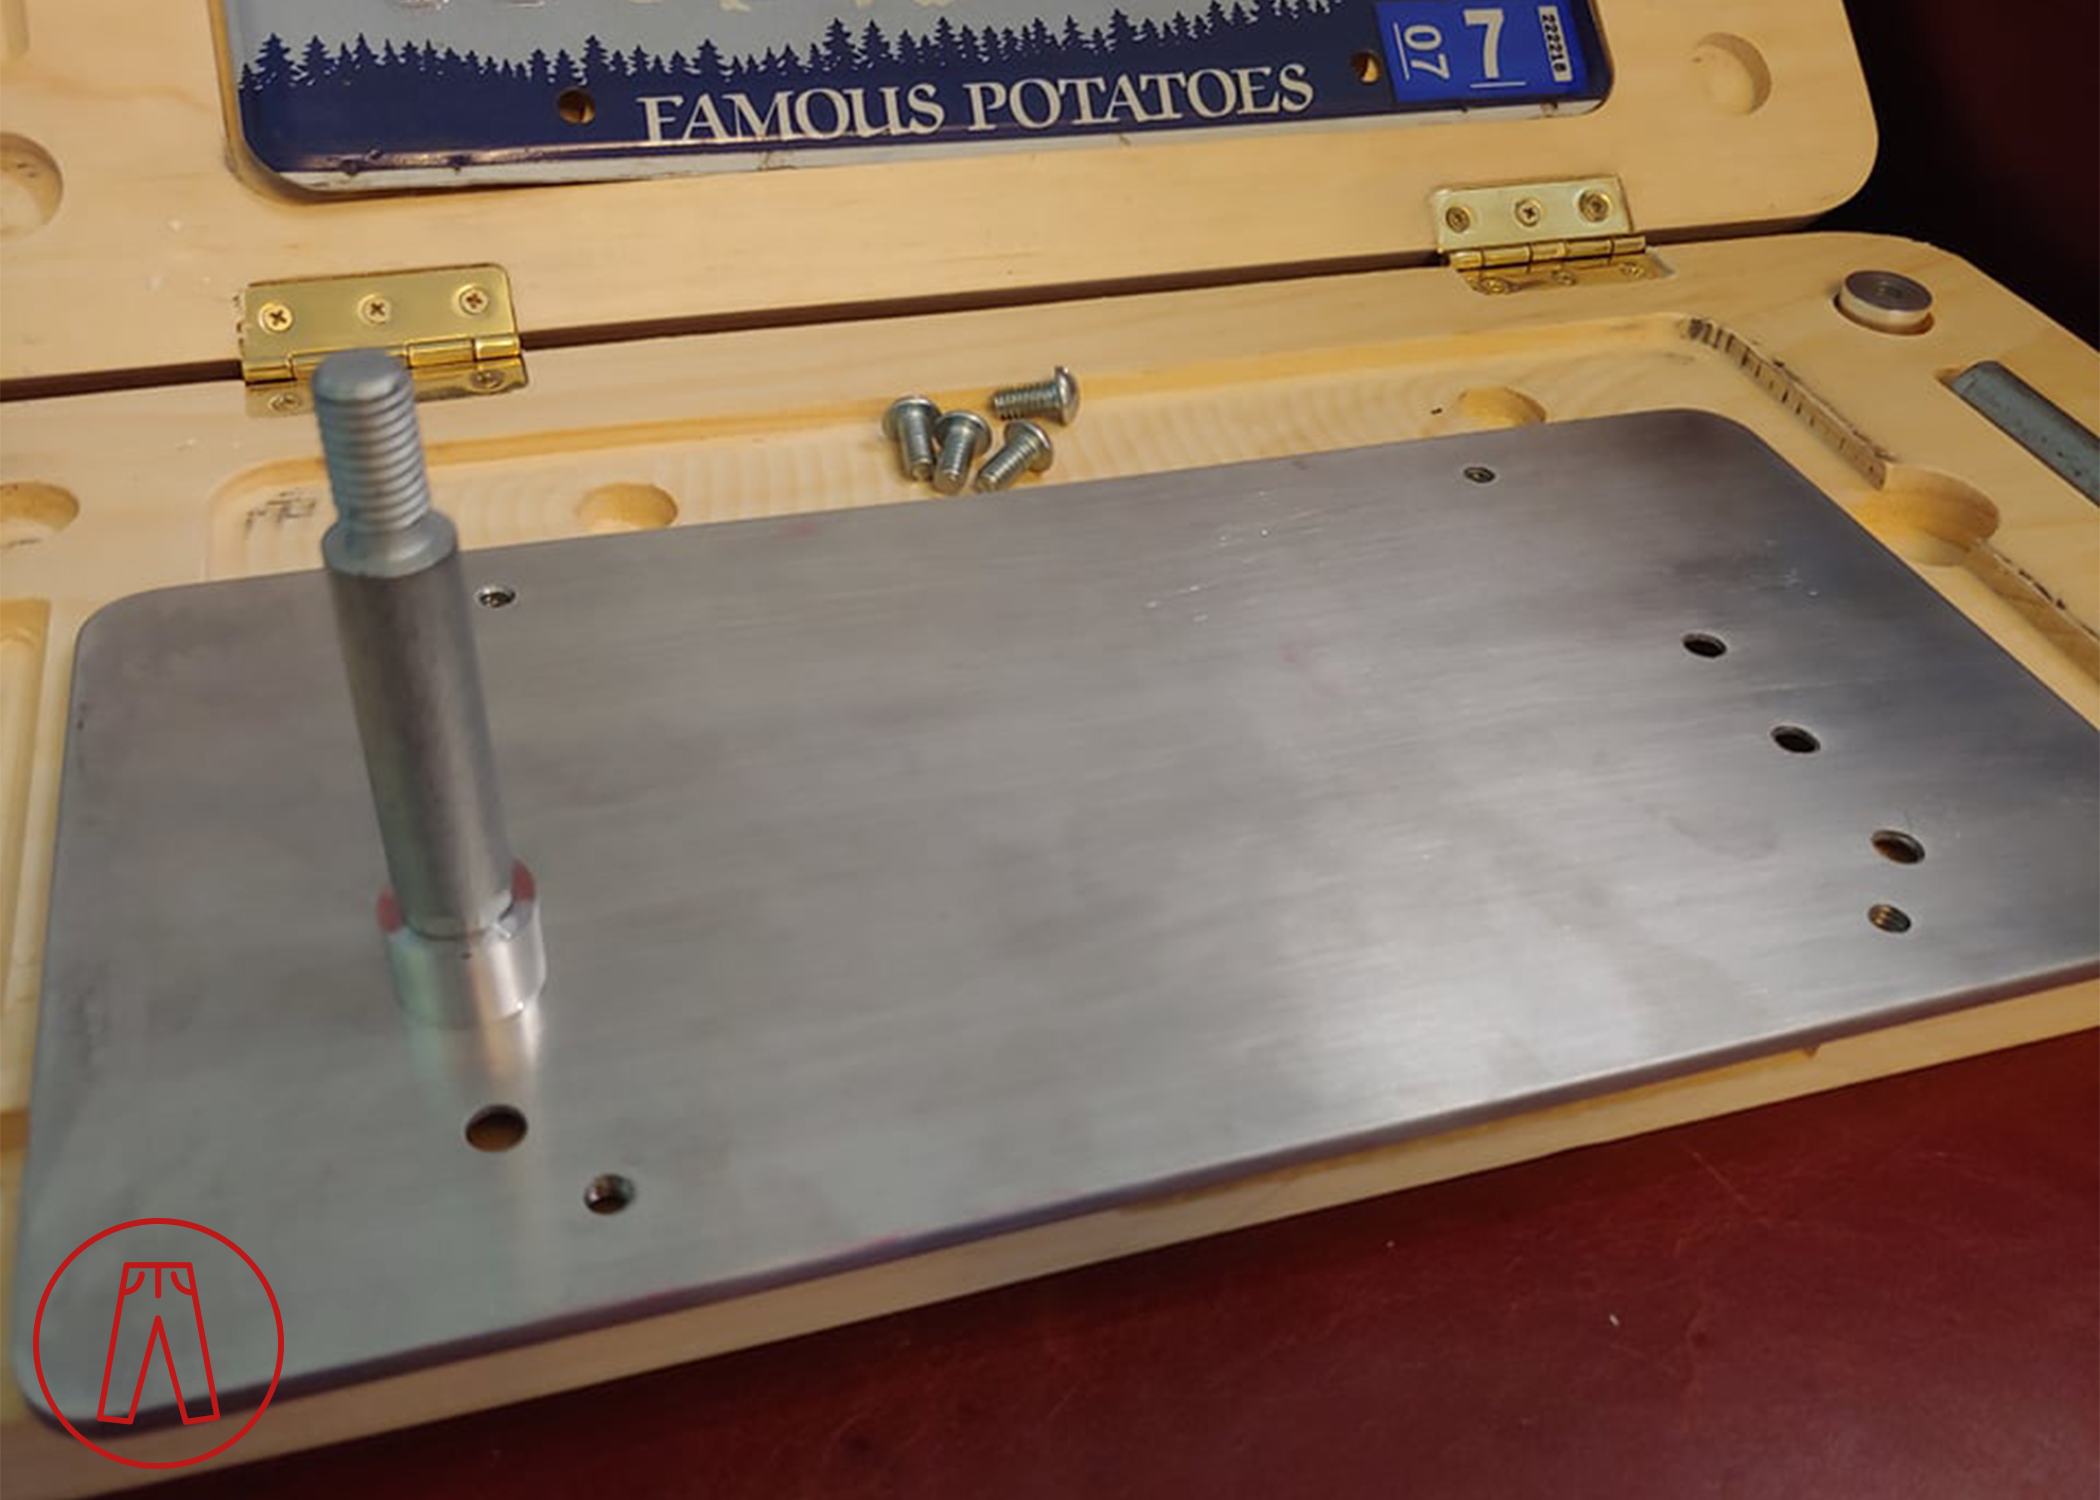
Install the license plate mount by putting a bolt through one of the holes to align the plate mount at the desired position, slotting a spacer over that bolt, and then screwing the bolt into the bolster stud. Reference the picture below for how it should look, noting that the long bolster stud will already be installed on the car.
Insert the second counter-sunk bolt into the corresponding hole on the other side of the license plate mount, slide the spacer over the bolt on the backside of the license plate mount, and then screw that bolt into the bolster stud.
Make sure everything is properly aligned, then tighten both of the counter-sunk bolts using the screwdriver.
Step 3
Use the four dome-head bolts and screwdriver to install your license plate onto the license plate mount. If you’re using a license plate frame, but that onto the license plate before putting the license plate onto the license plate mount.
And that’s it!