
Shift Knob and Trim Replacement DIY Guide
DISCLAIMER / 免責事項
As always, follow all safety protocols. Don't undertake this task if you aren't comfortable with it, fully understand it, and are capable of completing it. The information provided may be incomplete or inaccurate. You are ultimately responsible for anything you do. Redpants is not responsible or liable for anything that may occur.
常にすべての安全プロトコルに従ってください。この作業に不安があり、十分に理解しておらず、完了する能力がない場合は、作業を行わないでください。提供される情報は不完全または不正確である可能性があります。ご自身の行動に対する最終的な責任は、ご自身にあります。Redpantsは、発生する可能性のあるいかなる事象についても責任を負いません。
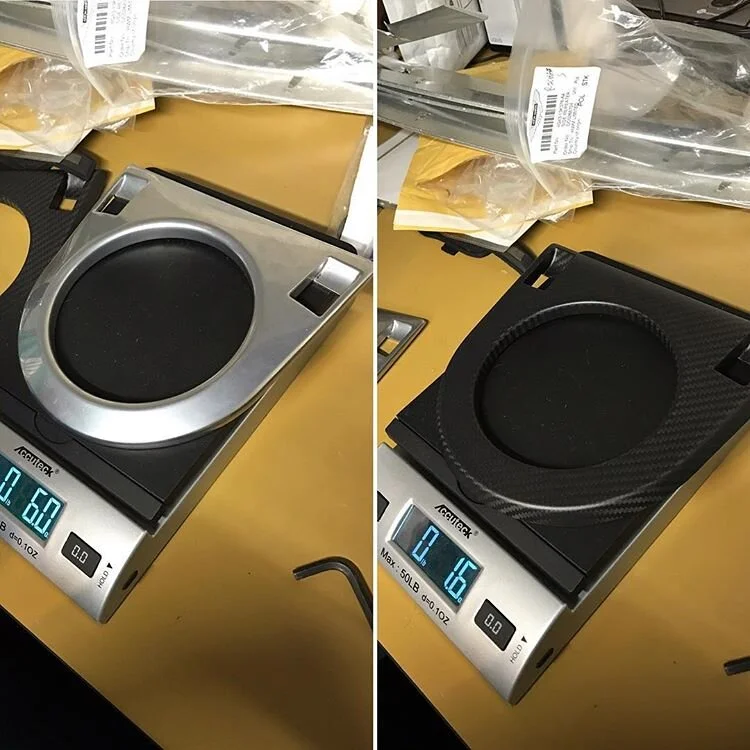
This is an easy task that you can do to change up the look of your interior. Well, if you have a manual transmission, that is. I replaced the standard metal shifter surround in my V8 Vantage with carbon fiber one. I was fighting off a bit of seasonal funk when I filmed this video, so you'll have to bear with the medication-induced babbling.
…not that I don’t usually babble too many anyway.
Needed
Shift knob and shift boot (optional)
- Alcantara shift knob
- Aluminum shift knob
Shifter surround (optional)
T20 Torx bit with ratchet
Tools to remove the armrest and lower console
About half an hour
Step 1
Remove the armrest and lower console.
Step 2
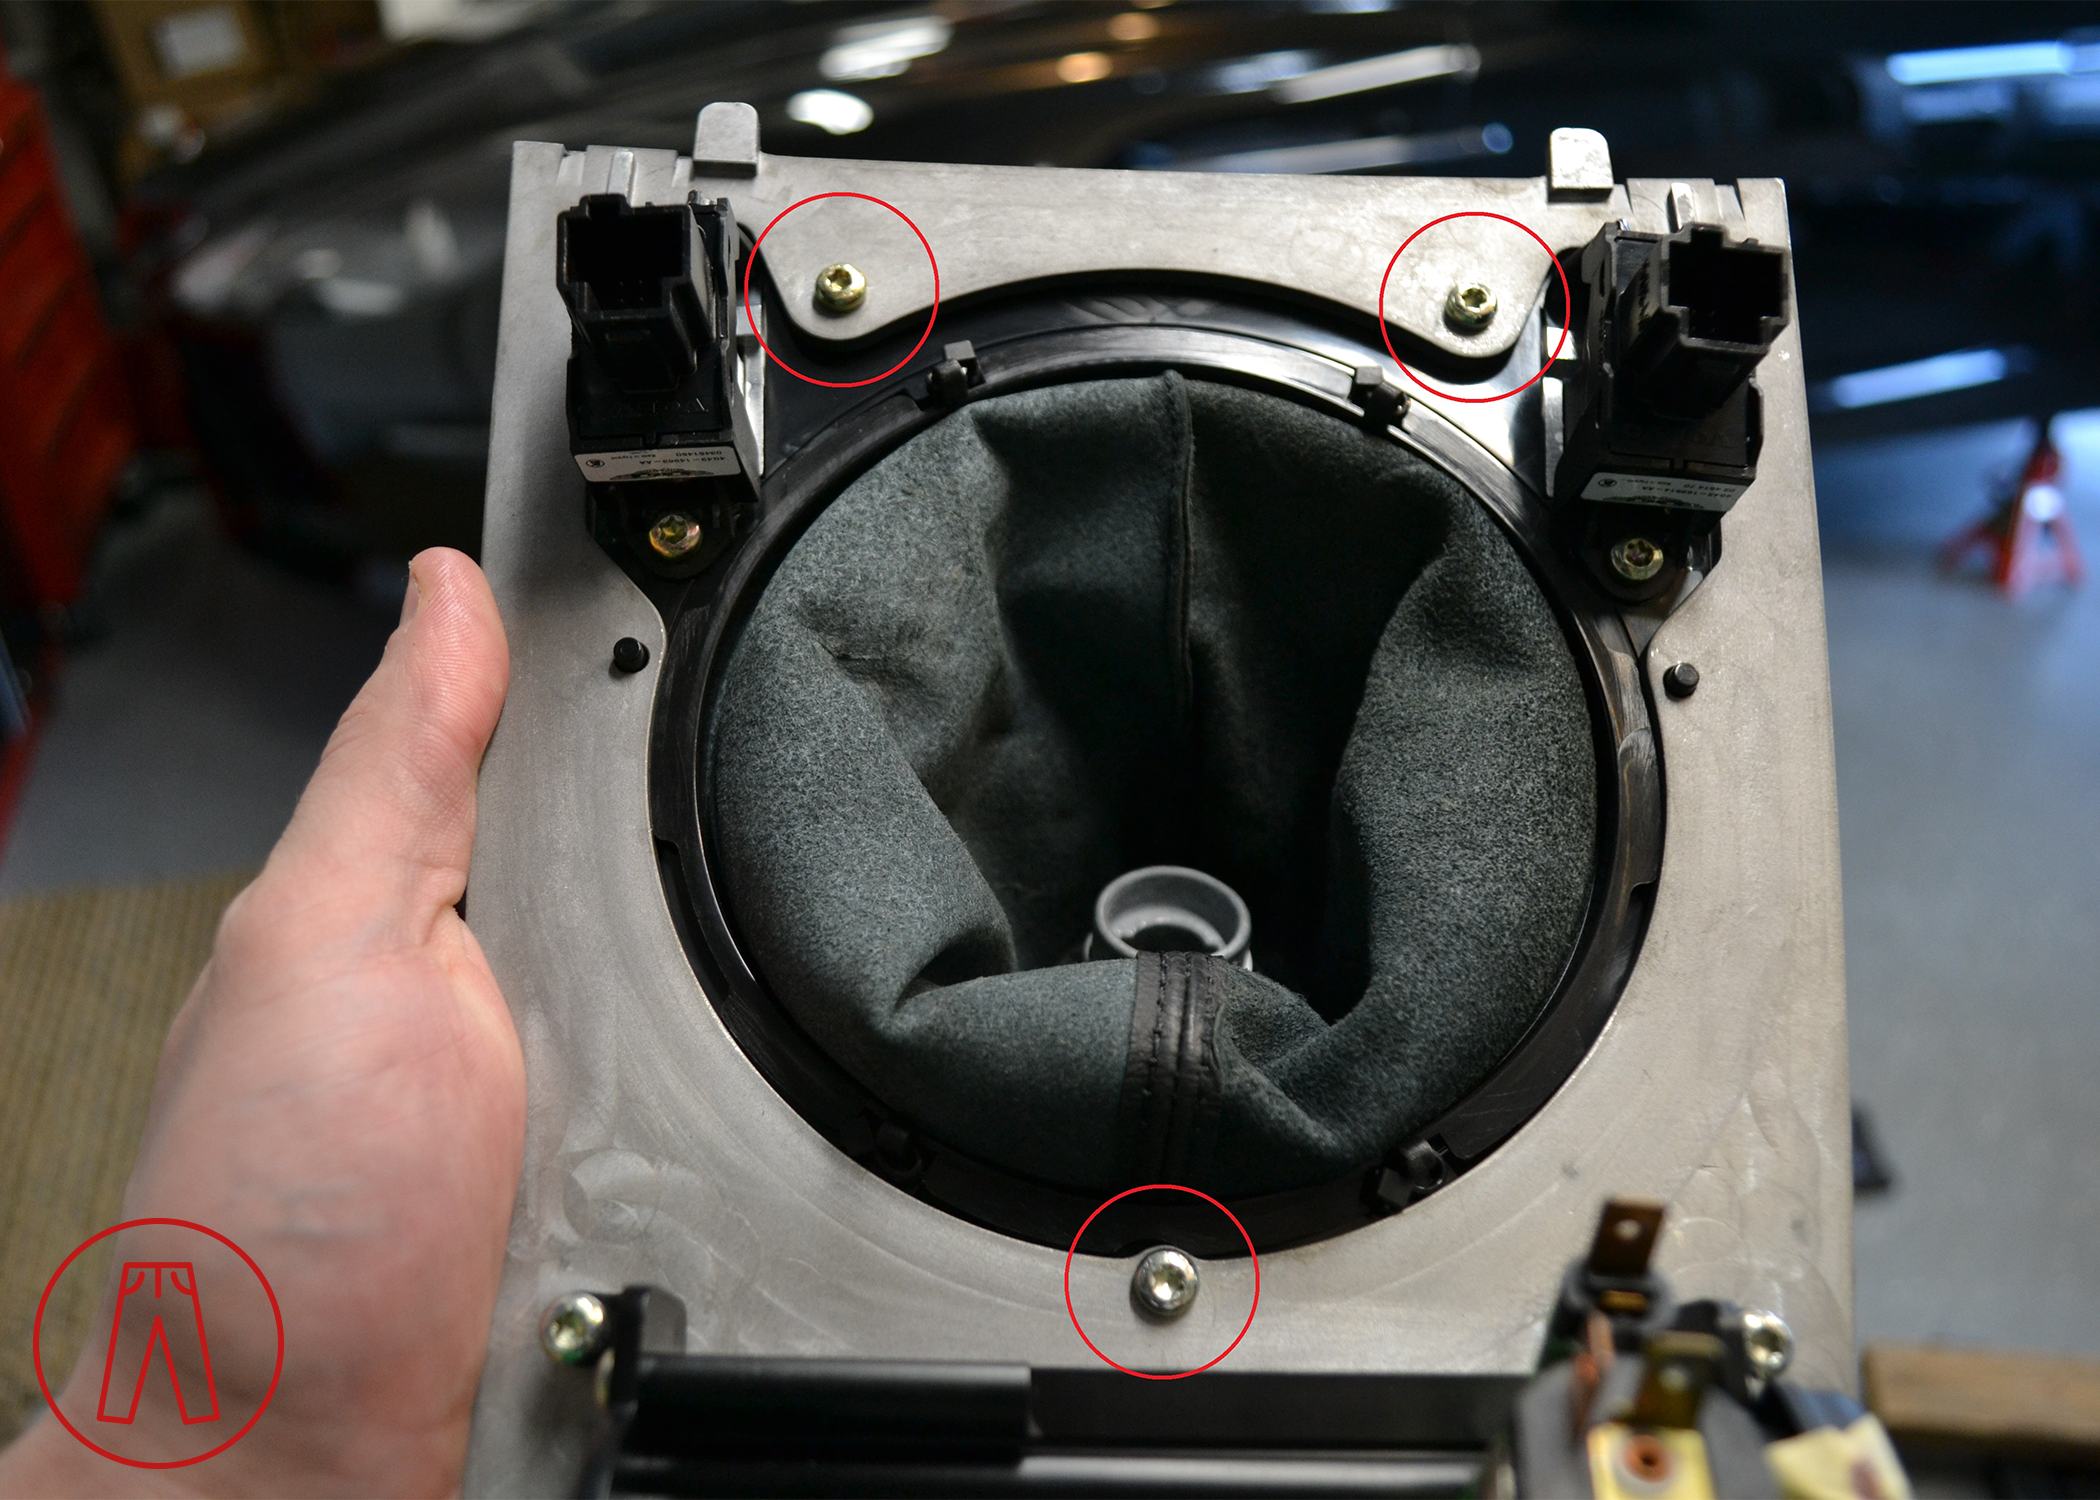
Turn the panel upside down, being careful of the shift knob, which will flop around. Use the T20 Torx bit and ratchet to remove the two T20 bolts holding the trunk (aka boot) release and door lock buttons to the panel. Set the switches aside.

Step 3
Remove the remaining three T20 Torx bolts holding the shifter surround to the panel. Each piece of the panel and shifter surround will come apart.
Step 4
Follow the steps above in reverse order for reassembly.
And that’s it!